
Last updated September 20, 2026
Free on-site gate assessment - hinges, posts, and your LiftMaster or Nice gate operator checked before anything is quoted
The assessment is free and the quote is the invoice.

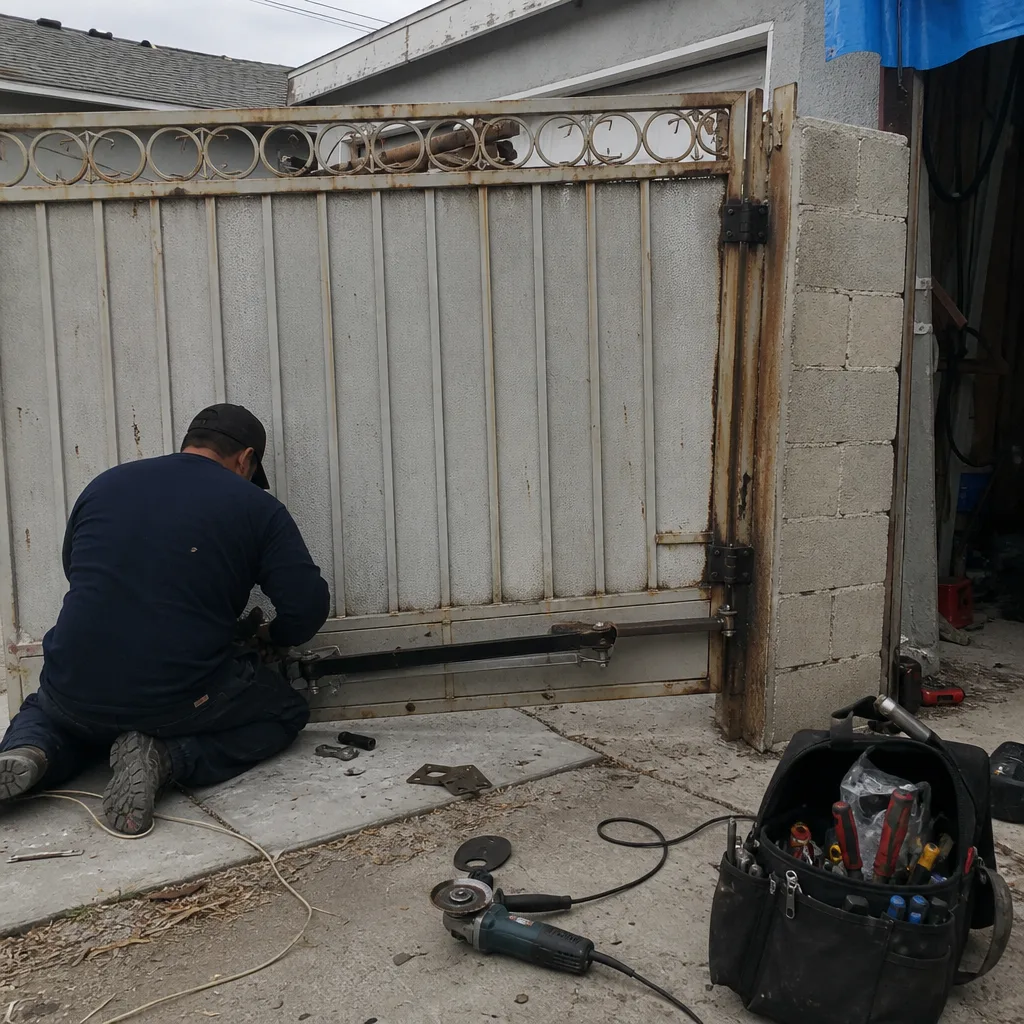 Before
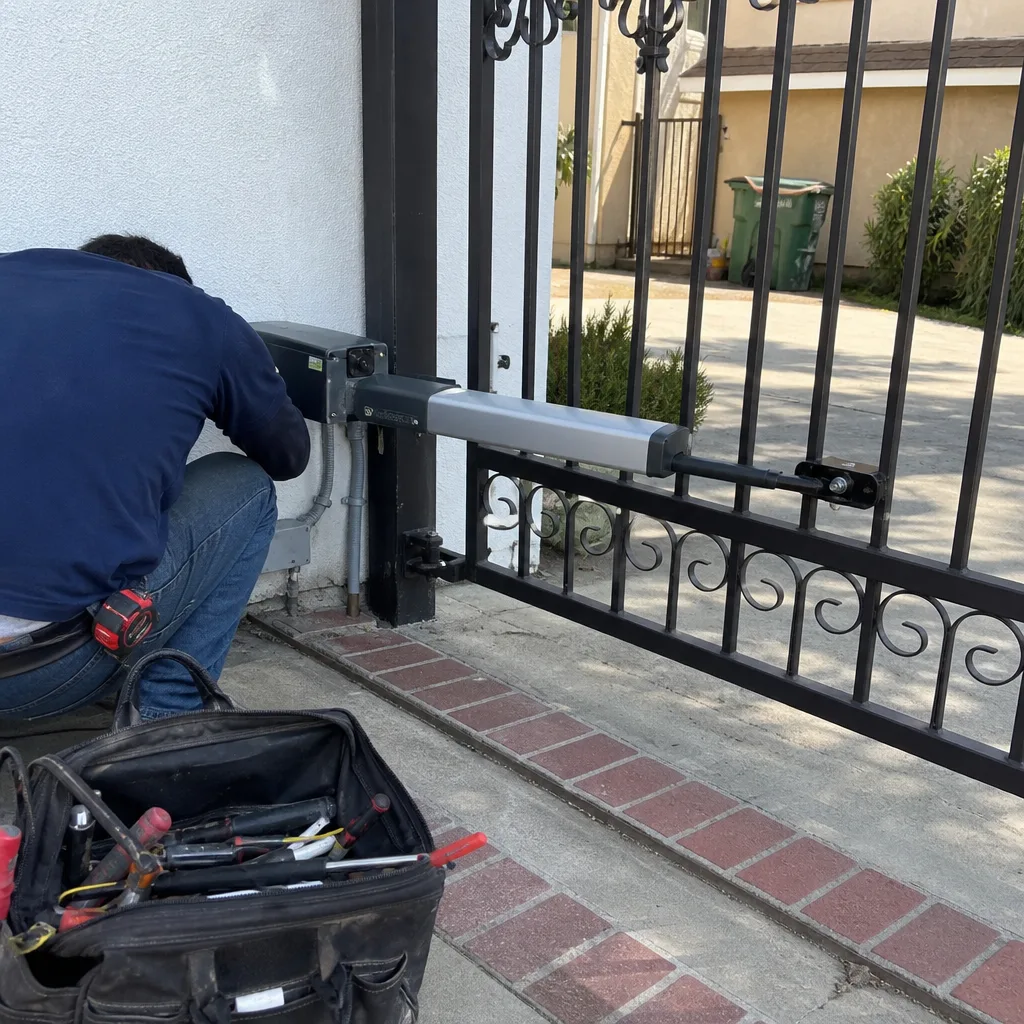 After
After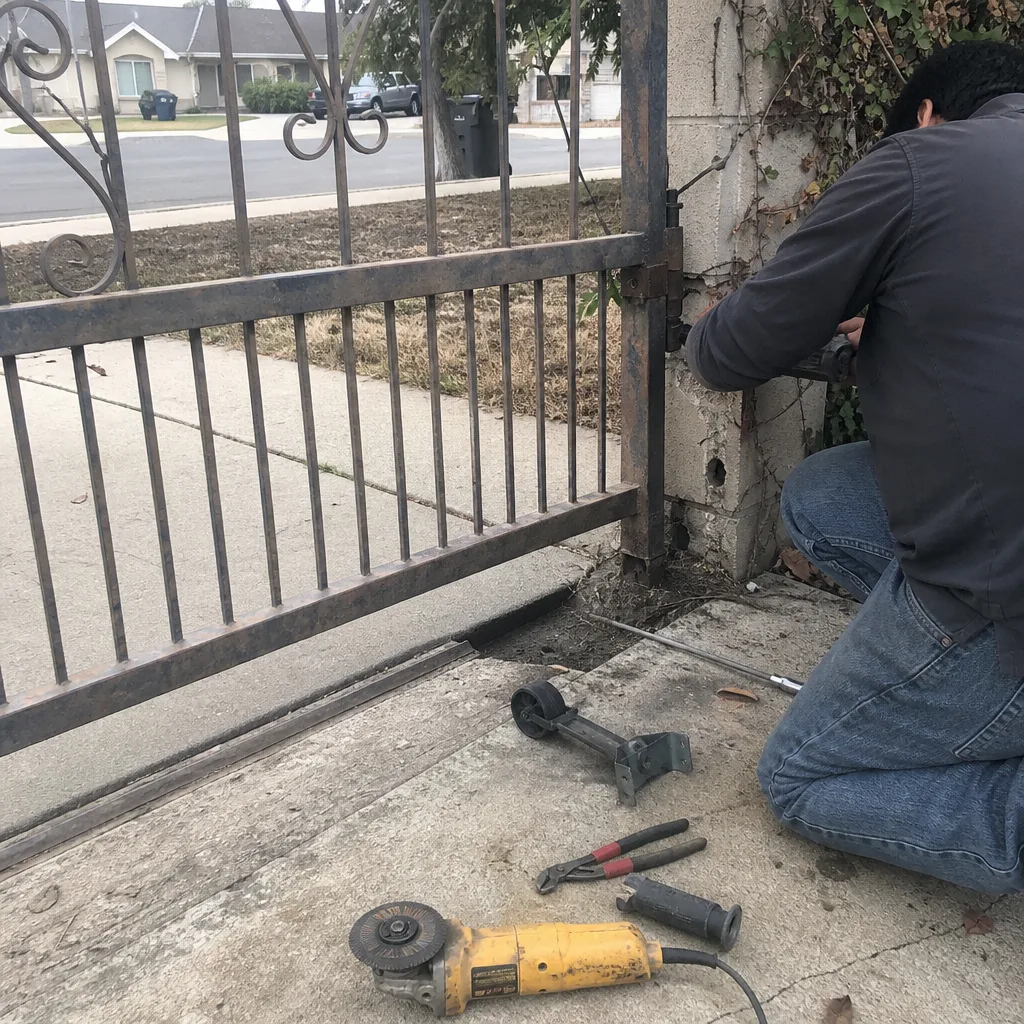 Before
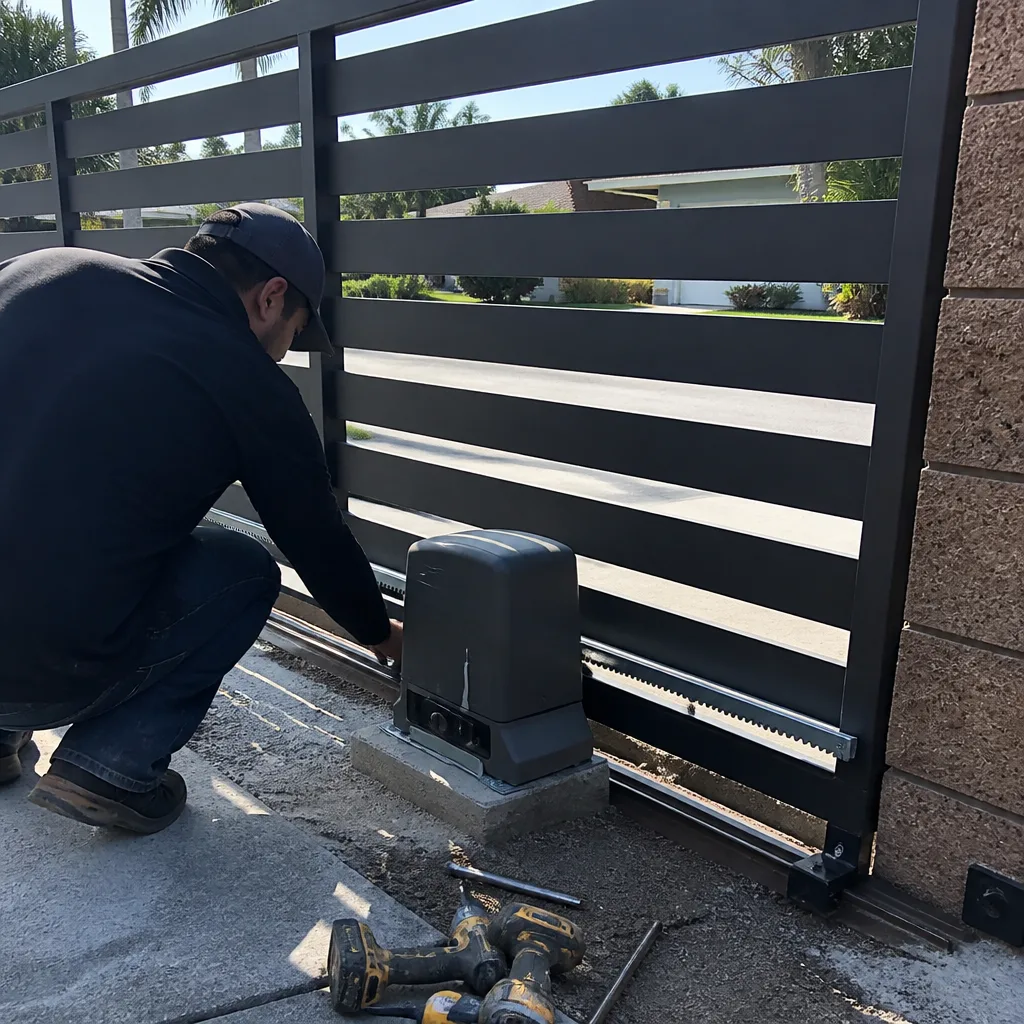 After
After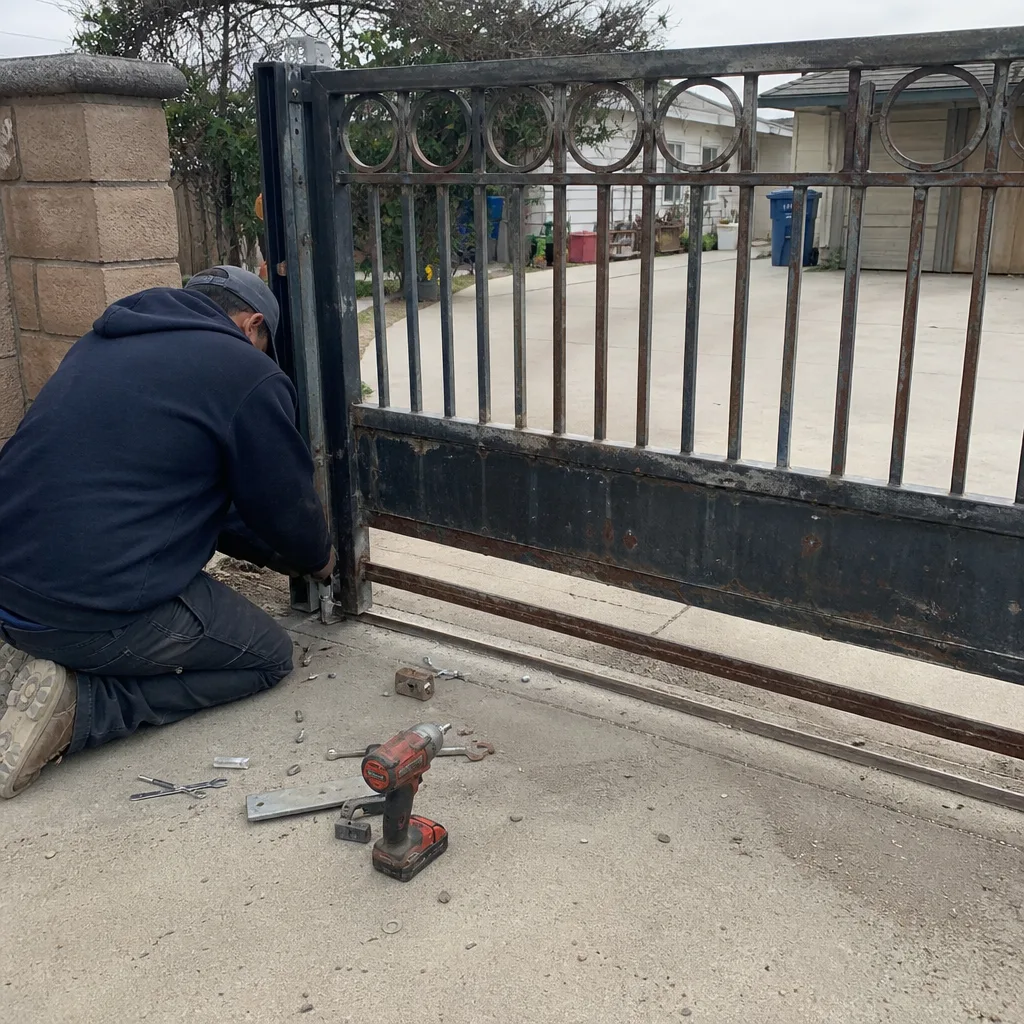 Before
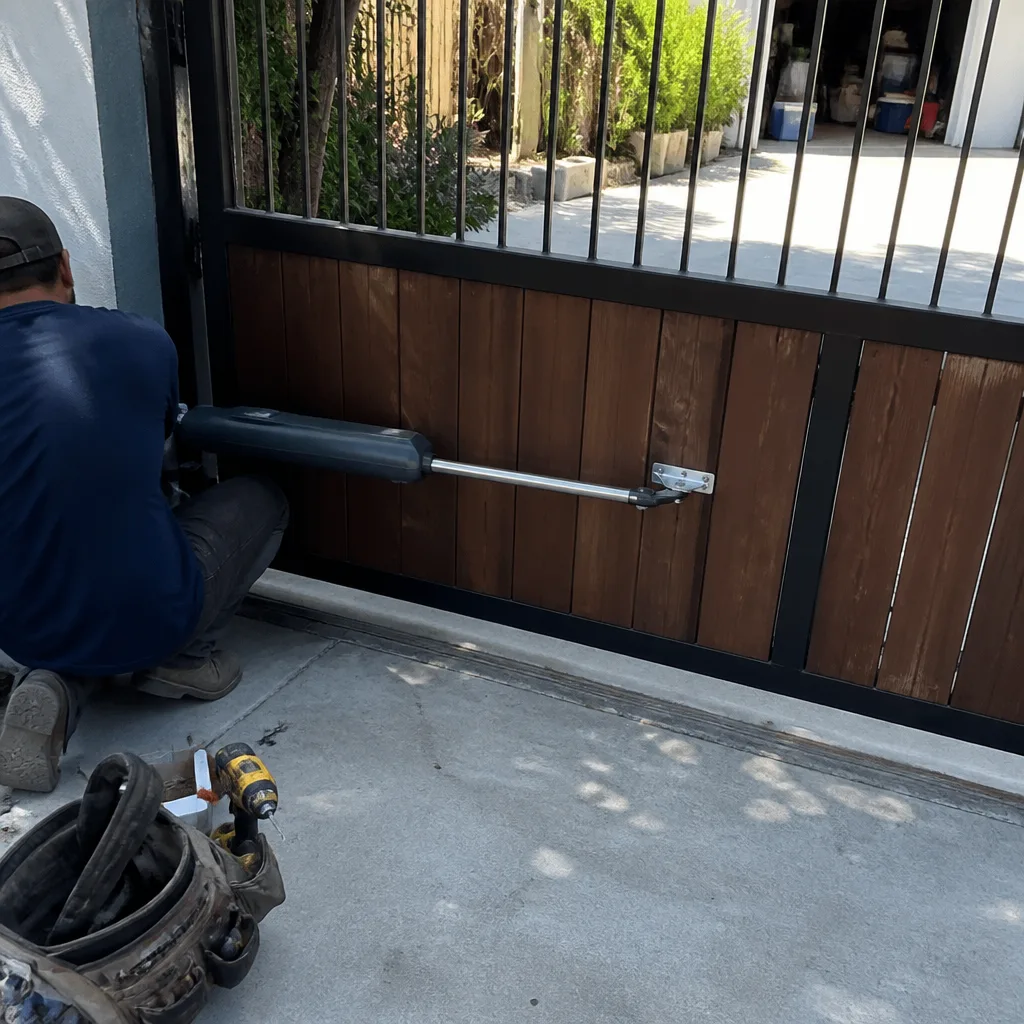 After
AfterDIY vs Professional Gate Repair: The Santa Ana Homeowner’s Decision Guide
The $45 gate sensor a homeowner replaces themselves is not a $45 repair. It’s a $45 part plus whatever it costs the next technician to figure out that the wire splice was done without heat shrink, corroded in six months from Santa Ana’s marine-layer moisture, and is now causing intermittent faults that look exactly like a failing control board. This guide is built for the homeowner standing in the driveway with a multimeter in one hand and a phone in the other, trying to decide whether to open the panel or call for Gate Repair services. We’ll walk through which repairs a homeowner can safely handle and document, which ones quietly cost more to fix after a DIY attempt, and the California-specific liability exposure that most online gate guides never mention.
Quick Answer
Homeowners in Santa Ana can safely handle three gate repairs: hinge lubrication, remote programming, and minor photoelectric sensor realignment. Everything involving the operator, the wiring, the limit switches, or any entrapment-zone component should go to a licensed professional, not because DIY is impossible but because undocumented DIY work creates a diagnostic black hole that typically costs $300 to $600 to excavate on the next service call.
Table of Contents
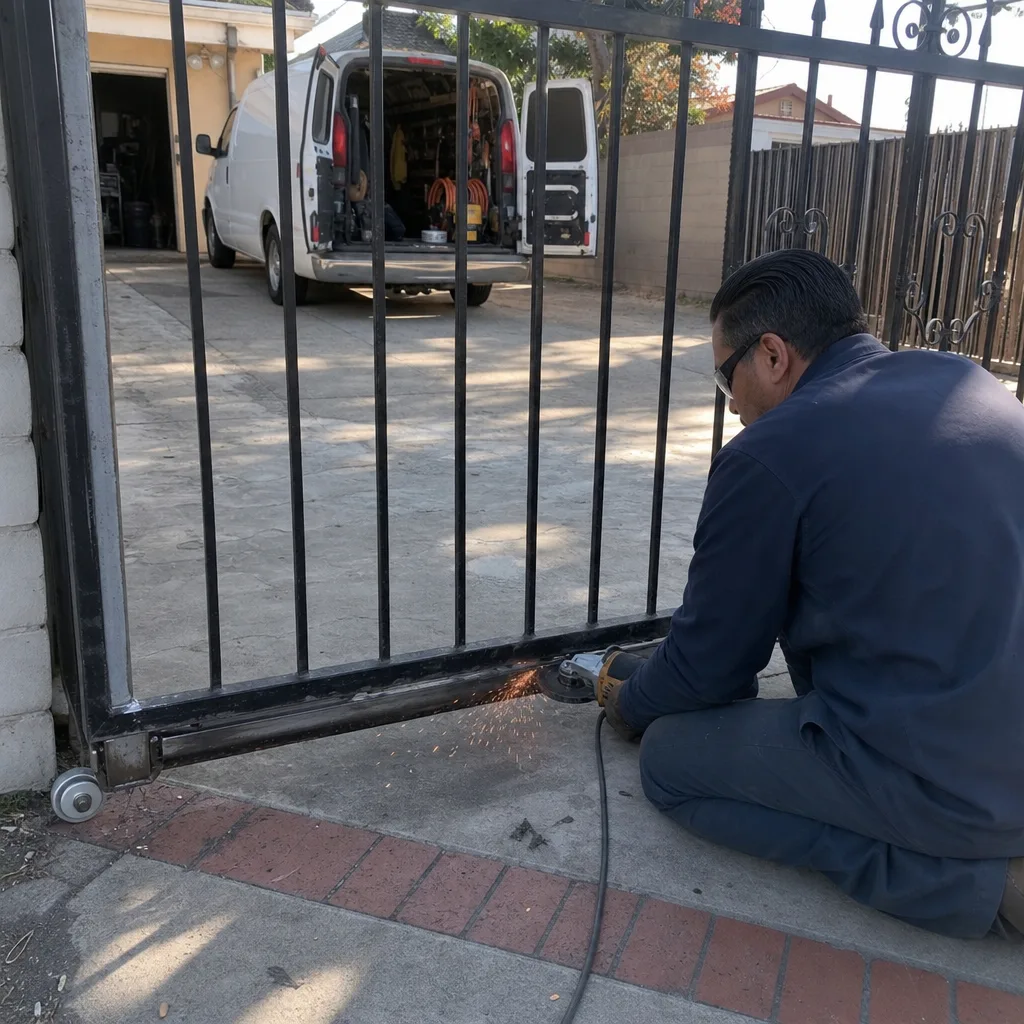
- The Three Gate Repairs a Santa Ana Homeowner Can Safely Do
- The Four Repairs Where DIY Saves Nothing
- How to Create a DIY Repair Log a Technician Can Actually Use
- California Liability and UL 325: What DIY Gate Work Exposes
- The Total-Cost Comparison: How to Math Out DIY vs Professional
- The Tools Worth Owning vs the Tools Worth Renting
- Common Mistakes to Avoid
- When to Call a Professional
- Frequently Asked Questions
BeforeAfterThe Three Gate Repairs a Santa Ana Homeowner Can Safely Do
Most gate failures in Santa Ana fall into a predictable pattern. The gate worked until it didn’t, and the homeowner is left deciding whether the problem is mechanical, electrical, or just stubbornness. Three categories of repair are genuinely appropriate for a careful homeowner. We’re not gatekeeping here. We’ve seen plenty of homeowners do these jobs cleanly. The difference between a clean repair and a future $600 diagnostic excavation is documentation, which we’ll cover in detail below.
1. Hinge Lubrication and Mechanical Cleaning
A gate that groans, sticks, or moves in a jerking motion is often fighting dry or seized hinges. In Santa Ana, this is more common than people expect. The coastal air carries salt and moisture that settles into hinge pins and accelerates wear, especially in neighborhoods west of the 55 where the marine layer hangs longer. Lubricating hinges is a legitimate homeowner task. Use a lithium-based grease or a heavy silicone spray, not WD-40, which washes out and leaves the hinge drier than before. Apply to the hinge pin, work the gate through its full travel five or six times, and wipe away the excess. Do this twice a year and most hinge-related failures disappear.
2. Remote Programming and Battery Replacement
If your remote stopped working but the keypad still opens the gate, the issue is almost always the remote, not the receiver. Homeowners can absolutely handle remote programming. Every major operator brand, including FAAC, Linear, and Viking, publishes programming sequences that take under two minutes. Most involve pressing a Learn button on the control board, then pressing the remote button until the board confirms with a flash or a beep.
The common failure here isn’t the programming. It’s the battery replacement that happens first. A remote with a weak battery can partially transmit, which causes the gate to open sometimes and not others. That random pattern looks and feels like a failing receiver. Before you touch anything on the control board, replace the remote battery with a fresh one and test from the same distance you normally use.
3. Minor Photoelectric Sensor Realignment
The photo-eye (the infrared beam that stops the gate if something crosses the path) is the most falsely diagnosed component in residential gate systems. When a gate reverses immediately after closing, or refuses to close at all, the photo-eye is the first suspect and often the culprit. In Santa Ana, especially in older neighborhoods like Floral Park or Washington Square where gates sit on brick pillars that settle over decades, the photo-eye alignment drifts as the pillar shifts. The beam misses the receiver, and the gate behaves as if something is in the path.
Realigning a photo-eye is a reasonable homeowner task, but it requires patience. The sensor mounts usually have a small adjustment screw or a swivel bracket. You need to make small adjustments, one sensor at a time, while watching the indicator light. Most photo-eyes have a small LED that is solid when aligned and blinking when not. If both sensors show solid lights and the gate still reverses, the problem is not alignment. It’s a failing photo-eye, a broken wire, or a control board input. Stop there and call a professional. Do not bypass the photo-eye. On a gate with an automatic operator, bypassing an entrapment-protection device is a violation of UL 325 safety standards and creates real risk of injury to children and pets.
These three repairs share a common thread: each one involves an adjustment or a minor part, not a wiring change, not a removal of an entrapment-protection device, and not a configuration of the operator’s logic. For deeper reading, see our Gate Repair Maintenance Checklist for Santa Ana Homeowners. They are also the repairs where an undocumented attempt causes the most cryptic downstream failures. Hinge grease hides wear patterns. Remote battery changes mask intermittent receiver issues. Sensor realignment without photos leaves no record of how far the beam drifted and why.
If you’ve done any of these and the gate is working again, the job isn’t finished until the documentation is done. We cover that process below. But first, the repairs where DIY doesn’t just fail to save money. It adds cost on top.
For a broader look at what gate repair in Santa Ana typically involves, see our main Gate Repair in Santa Ana page.
The Four Repairs Where DIY Saves Nothing
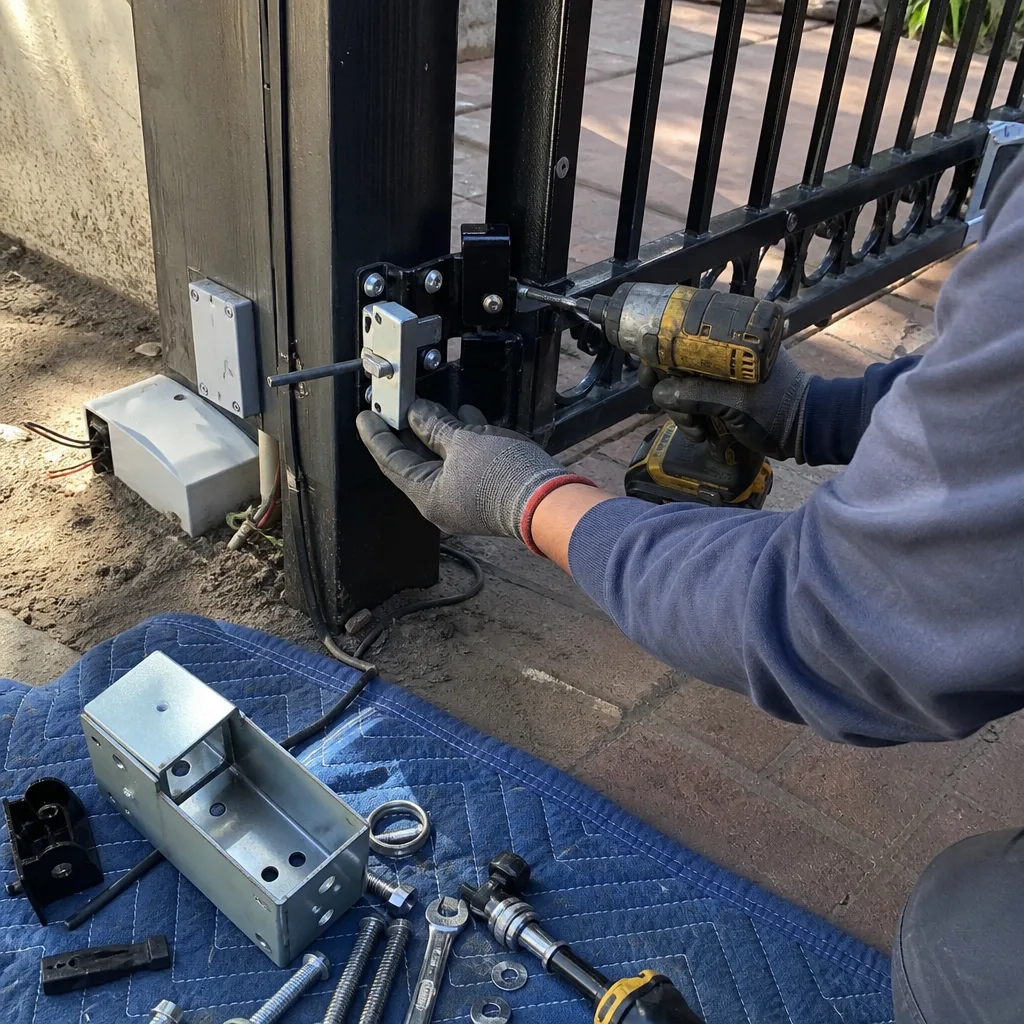
Every gate technician in Santa Ana has walked onto a property where the homeowner attempted a repair, got partway through, and then called for help. The problem isn’t that the homeowner tried. The problem is that the attempt moved the diagnostic starting point. A technician who walks into a factory-original system is looking at a known configuration. A technician who walks into a system where wires were moved, settings were changed, and parts were swapped without records is looking at a puzzle where every connection is now suspect. There are four repairs where the time required to reverse-engineer the DIY attempt reliably exceeds the cost of having called a professional in the first place.
1. Operator Replacement
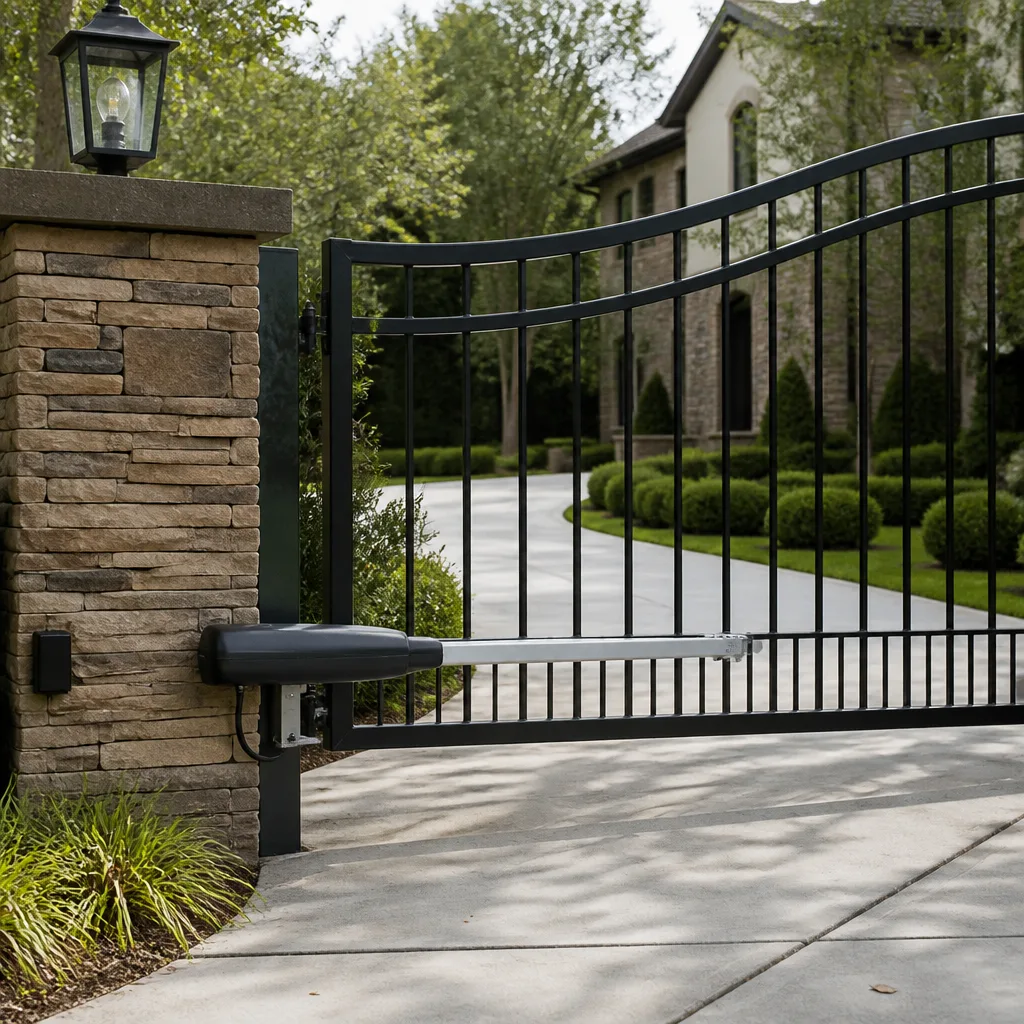
A gate operator (the motor and gearbox that actually moves the gate, often called the gate motor) seems like a bolt-off, bolt-on job. It isn’t. The physical mounting is the easiest part. The hard part is the configuration: setting the force sensitivity, programming the limit switches to match the gate’s exact travel, adjusting the stall force so the gate stops before it bends a hinge but not so gently that a gust of Santa Ana wind stops it mid-cycle, and configuring the safety inputs so the photo-eye and edge sensors actually talk to the board. A BFT operator behaves differently from a Viking operator, and a Linear operator behaves differently from both. If the homeowner installs an operator and sets the force too high, the gate will push through an obstacle, meaning it’s now a 300-pound moving wall that does not stop. If the force is set too low, the gate will stop constantly and require resetting. Both failures lead to a service call, and the technician now has to un-program the homeowner’s settings before programming the correct ones. The DIY operator replacement typically saves $150 to $250 in labor and creates a $200 to $400 configuration correction on the next call. The math doesn’t work.
2. Wiring Modifications
Any repair that involves cutting, splicing, or extending the low-voltage control wiring is a DIY trap. Gate control wiring runs at 24 volts, which feels safe, and it is safe from a shock perspective. But the failure mode of a bad splice isn’t immediate. It’s delayed. A splice without heat-shrink tubing corrodes over months. The corrosion raises the resistance. The gate starts behaving erratically: it opens but won’t close, it closes but the auto-close timer doesn’t work, it trips the breaker intermittently. Each symptom points to a different component, and a technician who assumes factory wiring will chase the phantom for an hour before discovering the splice. In Santa Ana, where the marine layer pushes moisture into everything within ten miles of the coast, a bare or poorly sealed splice fails faster than it would in a dry climate. We’ve replaced twenty-foot runs of control wire in neighborhoods like Riverview West where a homeowner had extended a keypad wire with twisted connections and electrical tape. The tape held for about eight months. The corrosion started immediately. The eventual repair required pulling new wire and re-terminating both ends, which cost more than the original keypad installation would have.
3. Limit-Switch Configuration
The limit switches tell the operator where the gate stops in the open and closed positions. When these are set incorrectly, the gate rams into the end stop, overheats, and trips its thermal protection. Homeowners sometimes attempt to adjust limit switches to fix a gate that stops too early or too late, and the adjustment itself seems straightforward: rotate the limit cam or reprogram the travel distance. The problem is that limit switches interact with force settings. If the gate was stopping early because a hinge is binding, adjusting the limit switch to force the gate past the bind doesn’t fix the bind. It just transfers the stress to the operator, which now fights a mechanical problem every cycle until the motor burns out. A professional sets limit switches by measuring: the actual travel distance, the current draw at each position, and the stall force at the ends. Without a baseline measurement, the adjustment is guesswork. A homeowner who sets the limits too wide creates an operator that overheats. Too narrow creates a gate that doesn’t fully close, leaving a gap that defeats the security purpose of having a gate in the first place. Neither outcome is correctable without a service call, and the technician now has to determine whether the limit misconfiguration caused secondary damage to the operator.
4. Loop Detector Installation
Loop detectors are the underground sensors that detect a vehicle’s presence and hold the gate open or trigger it to open automatically. They are used on some residential properties in Santa Ana, especially in newer developments and gated communities. Installing a loop detector requires cutting a saw slot in the concrete driveway, laying a loop of wire in the slot, sealing it, and wiring the loop to a detector module. This is not a homeowner repair. It requires a concrete saw, a specific wire gauge and loop configuration (usually three or four turns), and calibration of the detection sensitivity. A loop with too few turns won’t detect a vehicle. A loop with too many turns or incorrect sealing will false-trigger or fail within months. When a loop detector fails, the symptom is often a gate that opens randomly or won’t open for a car but opens for the remote. The diagnostic process to confirm a loop failure requires a loop tester or a multimeter reading at the detector terminals. A homeowner who installs a loop without the proper saw depth, wire type, or sealant creates a system that works for a few months and then develops an intermittent fault that mimics a failing detector module. The repair involves cutting out the old loop and reinstalling it, which means the homeowner pays for the loop twice: once in materials and labor for the DIY attempt, and once for the professional correction.
For anyone considering operator work, see our Gate Motor & Opener in Santa Ana page for how professional operator service is priced and scoped.
How to Create a DIY Repair Log a Technician Can Actually Use
Here is the honest reality about DIY gate repair in Santa Ana: plenty of homeowners are capable of doing the three safe repairs we listed above. Very few of them document the work well enough to avoid creating a diagnostic burden later. A repair log isn’t a diary. It’s a set of photos, measurements, and part numbers that lets the next technician see exactly what was done, exactly what was changed, and exactly what the baseline was before the change. The following steps will keep your DIY work from becoming a $600 diagnostic excavation on a future service call.
- Photograph everything before you touch it. Open the control panel and photograph the board, the wiring, and the terminal strip. Photograph the operator from both sides. Photograph the gate hinges, the photo-eyes, and the point where the gate meets the stop. These photos are your baseline. They show a future technician what the system looked like before you changed it.
- Record the model and serial numbers. The operator model number is on a sticker on the unit. The remote model is on the back of the remote. The photo-eye model is on the sensor housing. Write these down or photograph the stickers. A technician who arrives with the exact model numbers can bring the correct parts on the first visit instead of making a discovery trip.
- Note the measurements. If you’re adjusting anything, measure the before and after. Hinge gap, photo-eye angle, remote syncing distance. If you’re realigning a photo-eye, measure the sensor height above the ground and the distance between the sensors before and after. If you’re lubricating hinges, note which hinges were dry and which were already lubricated. These measurements are how a technician distinguishes between a repair that worked because the adjustment was correct and a repair that worked because the weather changed or the part decided to cooperate temporarily.
- Document the parts you used. Battery brand and type. Lubricant brand. Screw sizes if you replaced any. If you bought a replacement remote, note the model and where you purchased it. Part numbers matter more than brand names. A technician can look up a part number. A brand name alone may match a half dozen parts.
- Write down the sequence. If you programmed a remote, write the exact button-press sequence you followed. If you adjusted a sensor, write which sensor you moved, which direction, and how far. This detail is what separates a useful repair log from a notebook entry that says “fixed the gate.”
- Photograph everything after you finish. Same angles as the before photos. The after photos show the new baseline. A future technician comparing the two sets of photos can see exactly what changed. In our experience, this comparison is the single most valuable diagnostic tool for a gate that worked fine after a DIY repair and then developed a problem months later.
Keep the log somewhere the next technician can access it. A printed sheet inside the control panel is ideal. A folder on your phone works if you remember to show it. The log doesn’t need to be elegant. It needs to be accurate. A technician who can see the before-and-after photos and read the part numbers is starting from a known position. That’s worth real money on the next service call.
California Liability and UL 325: What DIY Gate Work Exposes
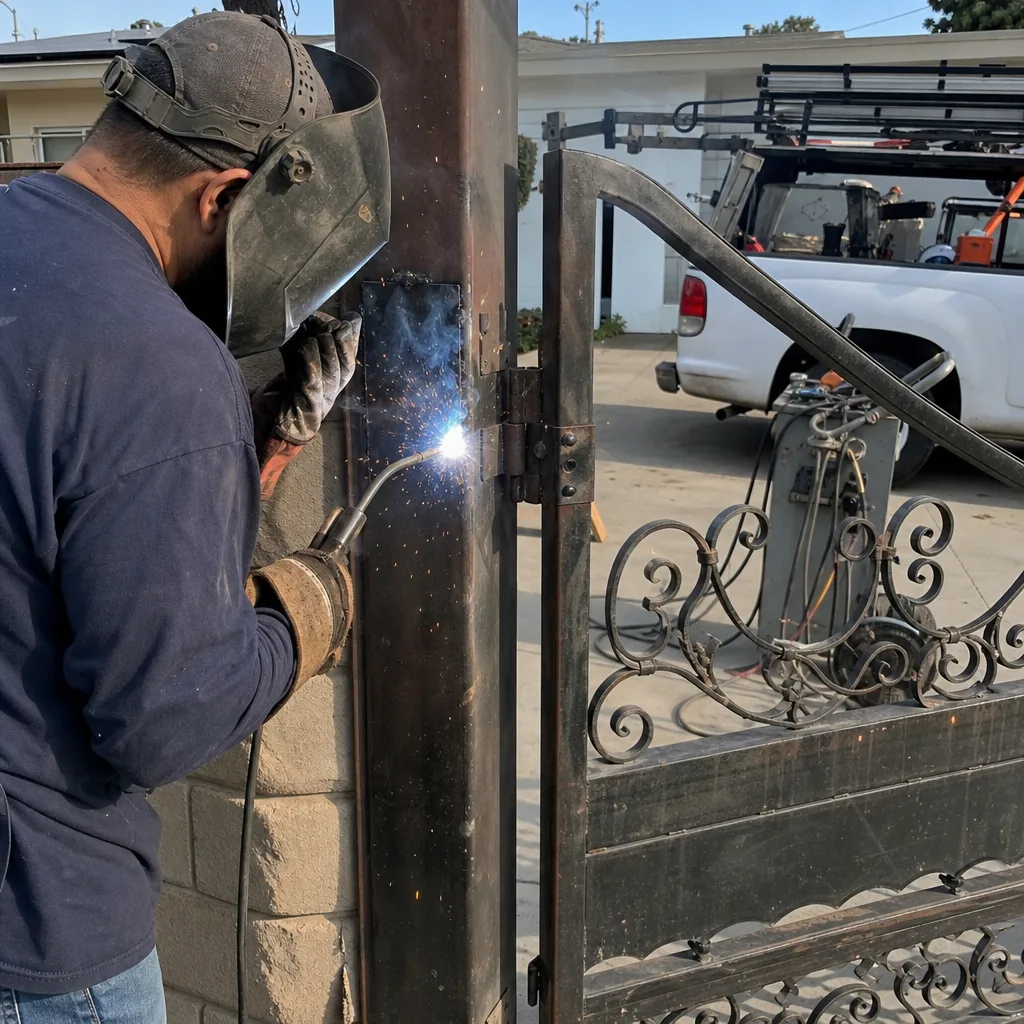
Automatic gate operators in residential use are governed by UL 325, a safety standard that covers entrapment protection: the mechanisms that prevent a gate from crushing, pinching, or trapping a person. When you modify a gate operator, you are modifying a system that was factory-certified to meet that standard. If you change the entrapment protection, the system is no longer compliant, and the liability exposure is not theoretical. California courts have held property owners responsible for injuries caused by automatic gates that were not properly maintained or had been modified without regard to entrapment protection.
The specific problem for a Santa Ana homeowner is the entrapment zone: the area where the gate meets the fence or the wall, where the gate edge travels, and where the gate post sits. If a gate operator’s force is set too high, the gate will not reverse when it encounters an obstacle, meaning a child or pet in the path is at risk of serious injury. If the photo-eye is misaligned or bypassed, the gate will not detect an obstruction. If the edge sensors are disconnected, the gate will not reverse on contact. Homeowners who perform their own operator replacement or wiring modifications typically do not have a force gauge, a photo-eye alignment tool, or the specific training to verify that the entrapment protection is functioning to the UL 325 standard. The result is a gate that works, but may not be safe. And the homeowner who installed it is the one who carries the liability.
There is a secondary risk that Santa Ana homeowners should know about. Insurance policies on homes with automatic gates often include exclusions or conditions related to gate maintenance. If a gate is serviced by an unlicensed individual or modified by the homeowner, and then causes an injury, the insurer may deny coverage on the grounds that the modified system was not compliant with the applicable safety standard. A licensed gate professional is expected to verify compliance. A homeowner is not. That gap is exactly where the liability lives.
None of this means a homeowner cannot lubricate hinges or program a remote. Those actions do not affect entrapment protection. But any modification to the operator, the force settings, the photo-eyes, the edge sensors, or the control board is an entrapment-zone modification. That is the line. Do not cross it without a professional.
How to Math Out the True Cost of DIY vs Professional Gate Repair
Every DIY-versus-professional decision eventually comes down to money. The problem is that most homeowners only count the parts. A $45 sensor is not a $45 repair. The honest math includes three additional numbers: the probability that the repair fails or causes a secondary problem, the cost of the future diagnostic time required to untangle the DIY work, and the value of the warranty a professional repair includes. Here is how to build a real comparison.
Step 1: Price the part and your labor honestly
If you’re buying a replacement sensor, a remote, or a bottle of lubricant, the part cost is straightforward. Your labor is not free. Estimate the hours you will spend researching, purchasing, attempting, troubleshooting, and documenting the repair. Multiply by your hourly earnings or a reasonable rate for your time. A repair that takes three hours of your Saturday is not free.
Step 2: Add the callback probability
This is the number most DIY calculations skip. For the three safe repairs we listed, the callback probability is low if the homeowner documents properly. For the four repairs where DIY saves nothing, the callback probability is high. A homeowner who replaces an operator without a force gauge has a roughly 50 percent chance of a callback within the first year, either for a force setting correction, a limit switch adjustment, or a safety input problem. If the callback costs $200 to $400, the expected value of that probability is $100 to $200. That is a real cost of the DIY repair, just paid later.
Step 3: Add the diagnostic excavation risk
If your DIY work fails and the next technician cannot quickly determine what was changed, the diagnostic time goes up. A factory-original system has a known baseline. A modified system requires the technician to verify every connection, every setting, and every component before the diagnosis even begins. That hour of verification is billable. In Santa Ana, where gate technicians charge $85 to $125 per hour, an undocumented wiring modification can add $85 to $250 to the repair cost. This is where the $45 sensor becomes a $350 repair.
Step 4: Compare against a written professional scope
A professional gate repair in Santa Ana should come with a written scope and a written price. The scope describes exactly what will be done. The price is what you pay, agreed before work starts. When you compare a professional quote against a DIY plan, you are comparing a known outcome against a probable one. The professional quote may be higher on paper, but it includes the warranty, the compliance verification, and the documentation. The DIY plan includes none of those guarantees and carries the callback and excavation risk on your own ledger.
For a deeper look at what professional gate installation includes when replacement becomes necessary, see our Gate Installation in Santa Ana page.
The Tools Worth Owning vs the Tools Worth Renting
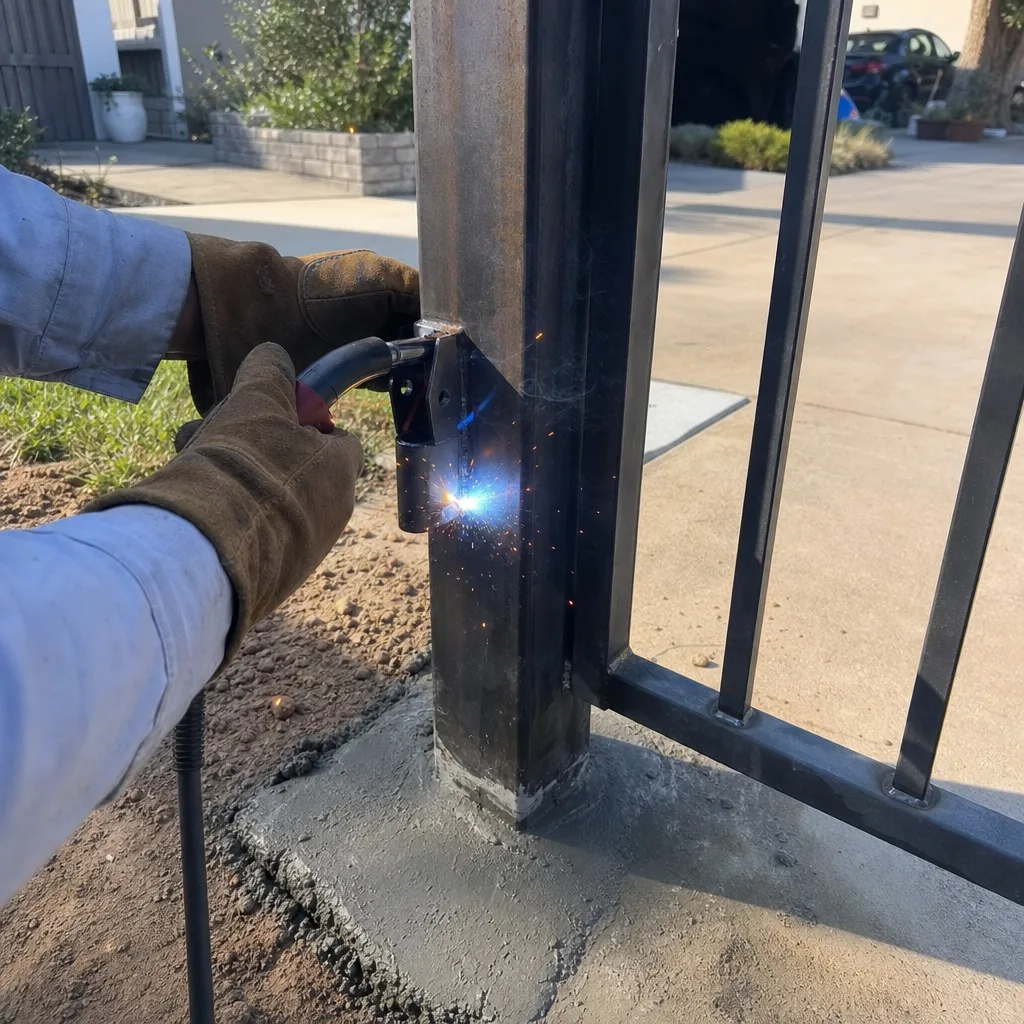
Gate repair requires a handful of specialized tools. Some are worth keeping in the garage. Others are worth renting for a single job. And a few are so specialized that owning them makes no sense for a homeowner doing one repair every few years. Here’s the breakdown for Santa Ana homeowners.
Worth Owning
- A digital multimeter. A basic model under $50 will measure voltage, resistance, and continuity. This is the tool that tells you whether a wire is actually broken or a sensor is actually failing. Every homeowner with an automatic gate should own one, even if only to take baseline readings for a technician to use later.
- A lithium-based grease and a can of silicone spray. These handle hinge lubrication and keep mechanical parts moving. Total cost under $25.
- A spirit level. Used for checking gate post alignment and photo-eye level. A post that has settled out of plumb is a common Santa Ana gate failure.
- A set of basic hand tools. Screwdrivers, wrenches, pliers. These cover remote battery changes, sensor bracket adjustments, and control panel access.
Worth Renting
- A concrete saw. Only needed for loop detector installation. Renting one costs $50 to $80 per day, and the blade is extra. Do not buy one.
- A torque wrench. For hinge bolt and operator mount bolt tightening. Most homeowners don’t need this more than once, and a rental is cheaper than a quality tool.
Not Worth Owning or Renting
- A gate force gauge. This measures the closing force of the operator to verify UL 325 compliance. It costs several hundred dollars and requires calibration. A professional brings this on every operator service call.
- A loop tester. Used to diagnose loop detector failures. The tool costs more than the service call to diagnose the problem.
- A programming cable or proprietary diagnostic tool. Some operators require brand-specific tools for advanced configuration. These change between models and brands, and the consumer versions are limited. A homeowner buying one will use it once.
The tools worth owning are the ones that support the three safe repairs and the documentation process. The tools worth renting are for single-use situations. The tools not worth owning are the ones that define the professional boundary. If a repair requires a force gauge or a proprietary programming tool, that repair belongs on the professional side of the ledger.
Common Mistakes to Avoid
- Attempting an operator replacement without a force gauge or limit switch knowledge. The operator will physically bolt in, but the configuration is where the safety and functionality live. A misconfigured operator is a hazard, not a repair.
- Splicing wires without heat shrink and a weatherproof enclosure. In Santa Ana’s coastal moisture, a bare splice corrodes within months and creates intermittent faults that look like control board failures. If you’re not going to make a weatherproof splice, don’t cut the wire.
- Bypassing a photo-eye because it’s “annoying.” The photo-eye is an entrapment-protection device required by UL 325. Bypassing it is a safety violation and a liability exposure.
- Adjusting limit switches to compensate for a binding hinge. If the gate binds, the hinge is the problem. Adjusting the limit switch to force the gate past the bind transfers stress to the operator and shortens its life.
- Failing to photograph the control board before making changes. The before photo is the baseline every future technician needs. Without it, your repair is an undocumented modification that makes diagnosis harder.
- Replacing a remote before testing the battery. A weak battery causes intermittent operation that mimics a failing receiver. Replace the battery first, then test from normal distance.
- Ignoring the gate when it starts moving slower than usual. A slow gate in Santa Ana is often a sign of failing capacitors in the operator or increasing mechanical resistance. Waiting until it stops completely converts a maintenance repair into a replacement.
When to Call a Professional
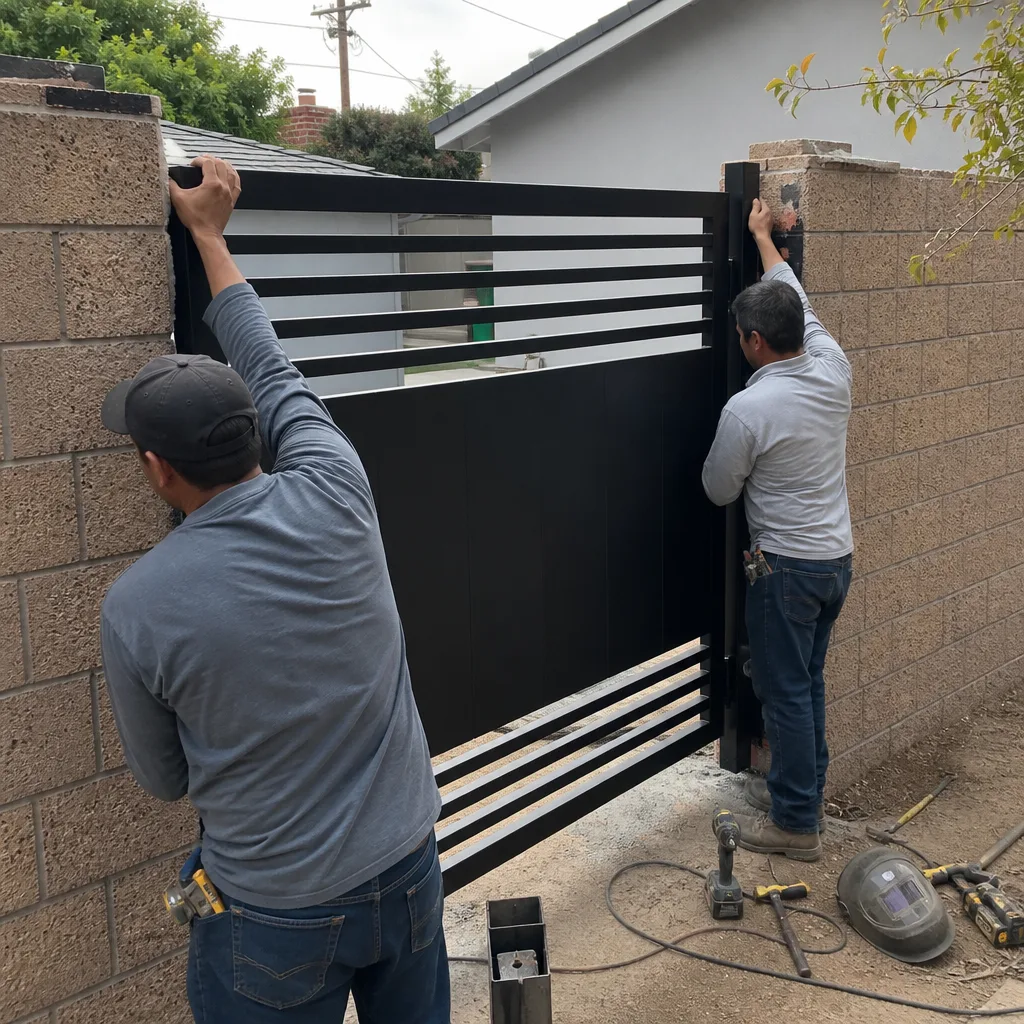
If the gate is moving slower than normal, making a grinding or screeching sound, failing to close completely, or operating randomly, stop troubleshooting and make the call. Any repair involving the operator, the wiring, the limit switches, the loop detector, or any entrapment-protection device belongs with a licensed professional. The same applies if you’ve attempted a DIY repair that didn’t work or worked only temporarily. Vance Gate Repair Santa Ana offers free estimates in Santa Ana… call (657) 286-4793 for a written scope and price. Every job includes a documented photo record of what was found, what was adjusted, and what was replaced.
Frequently Asked Questions
Most gate repairs in Santa Ana run between $150 and $600, depending on the component and the amount of diagnostic time required. Hinge lubrication and minor sensor alignment sit at the low end. Operator replacement, control board repair, and wiring correction sit at the high end. Vance Gate Repair Santa Ana provides a written price before any work starts, so you know the number before approving the repair. Call (657) 286-4793 for an exact quote on your specific gate.
You can handle remote programming and battery replacement. You should not attempt to replace or reconfigure the gate opener itself. The operator requires force setting, limit switch programming, and entrapment-protection verification that most homeowners are not equipped to perform. An undocumented operator replacement creates a diagnostic burden on the next service call that typically exceeds the labor savings from the DIY attempt.
The most common gate repair in Santa Ana is photo-eye misalignment, usually caused by post settling in the city’s older neighborhoods. The coastal moisture accelerates corrosion in control boards and wire connections, making electrical faults the second most common issue. Operator capacitor failures are also frequent, since the capacitors age faster in the temperature swings between Santa Ana’s warm days and cool marine-layer nights.
No. Hinge lubrication is one of the three repairs homeowners can safely perform themselves. The key is using the correct lubricant, applying it to the hinge pin, and documenting the repair with before-and-after photos. Done correctly, hinge lubrication prevents the mechanical binding that eventually destroys operators.
UL 325 is the safety standard that governs automatic gate operators, specifically the entrapment-protection requirements. It requires gates to have working photo-eyes, edge sensors, or other devices that prevent the gate from injuring a person. If a homeowner modifies the operator or bypasses the safety devices, the gate is no longer compliant, and the homeowner carries the liability exposure for any resulting injury.
A professional gate repair should leave you with a written scope of work, a written price, and a photo record of what was found, adjusted, or replaced. At Vance Gate Repair Santa Ana, this documentation is standard on every job under our Haven Standard. It gives you a baseline for future repairs and gives any future technician a known starting point. If a company doesn’t provide written documentation, ask for it or find a company that does.
The Bottom Line
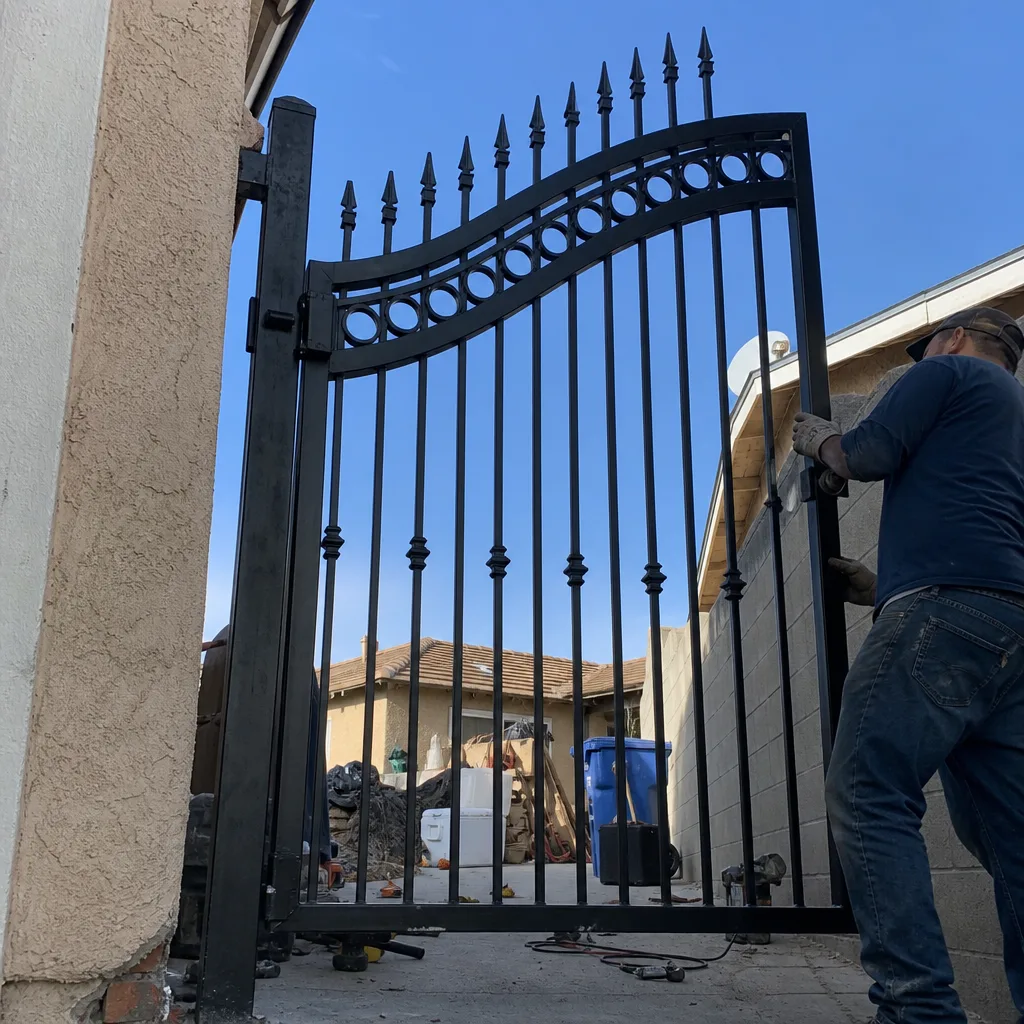
DIY gate repair in Santa Ana is not a yes-or-no question. It’s a documentation question. Homeowners can safely perform hinge lubrication, remote programming, and minor photo-eye alignment if they document the work with photos, part numbers, and before-and-after measurements. They should not attempt operator replacement, wiring modifications, limit-switch configuration, or loop detector installation, because those repairs require calibrated equipment and a compliance baseline that homeowners don’t have. The true cost of a DIY repair includes the callback probability, the diagnostic excavation risk, and the liability exposure. When you run that math honestly, the professional written scope usually costs less than the DIY attempt. For Santa Ana homeowners ready to make the call, Vance Gate Repair Santa Ana is available at (657) 286-4793, with a written price before any work. Browse our more guides & resources for additional help. begins.
Written by Adrian Vance, Owner at Vance Gate Repair Santa Ana, serving Santa Ana since 2014.