
Last updated September 20, 2026
Free on-site gate assessment - hinges, posts, and your LiftMaster or Nice gate operator checked before anything is quoted
The assessment is free and the quote is the invoice.

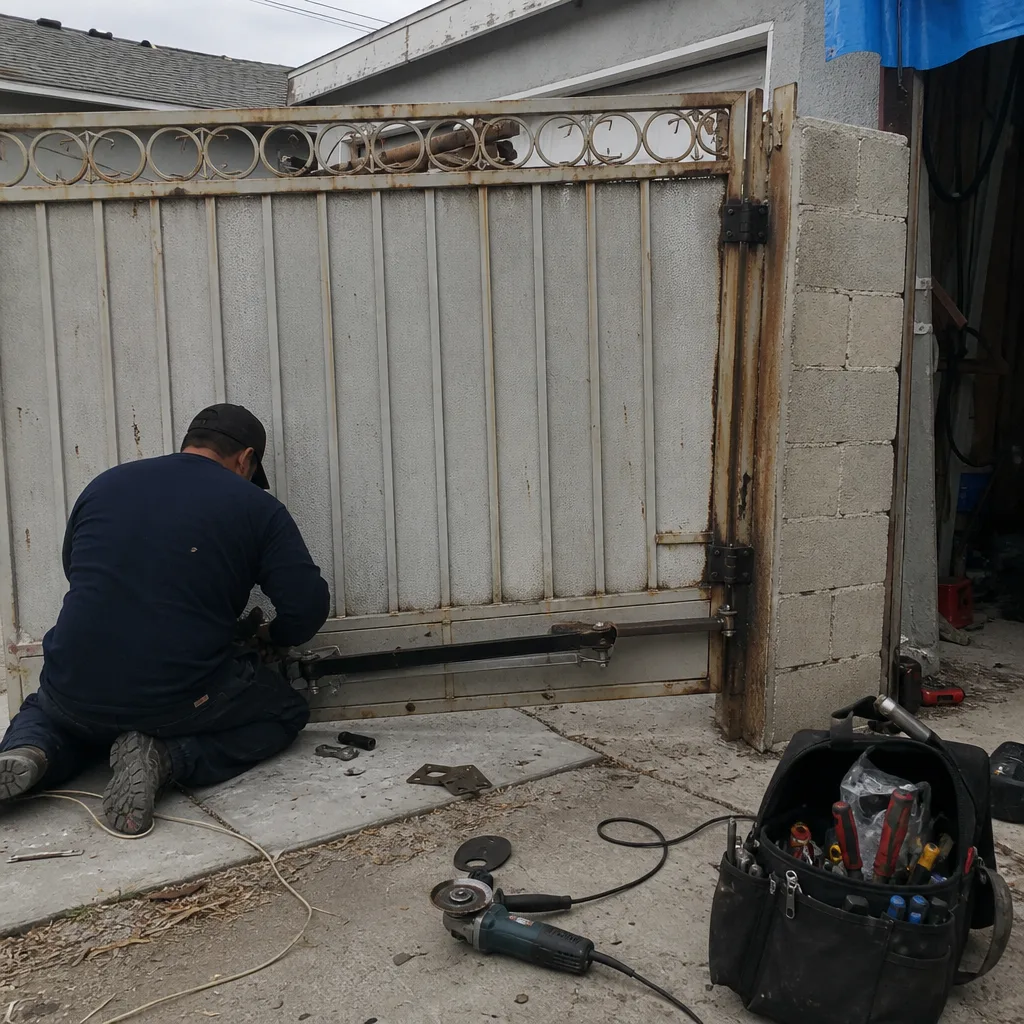 Before
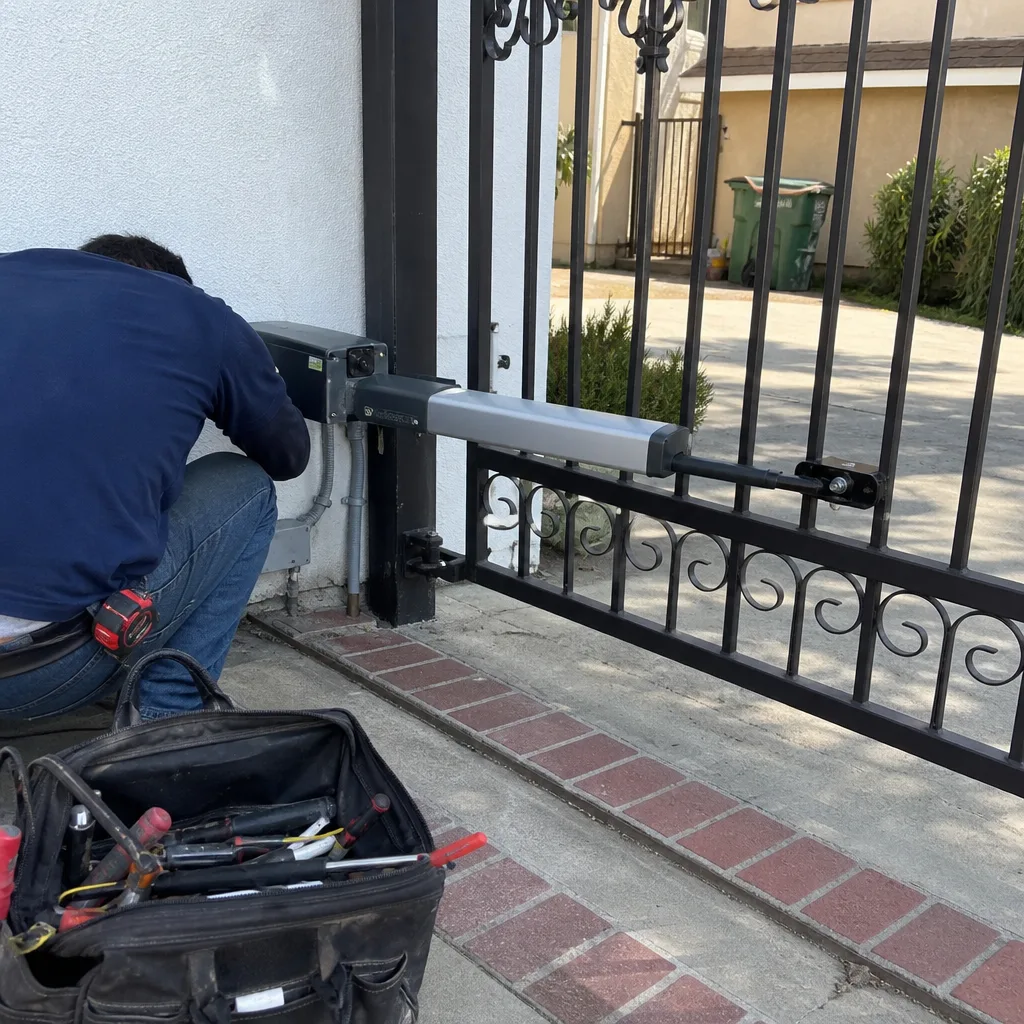 After
After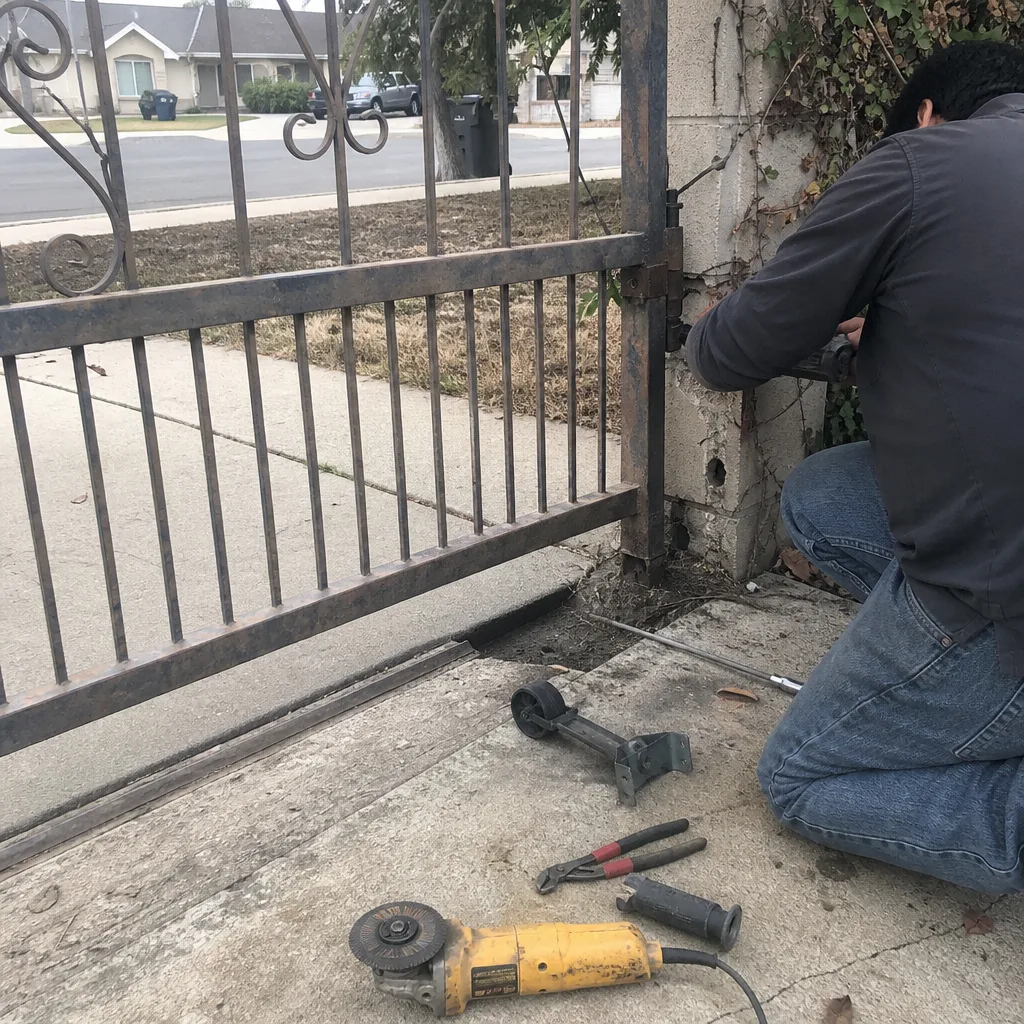 Before
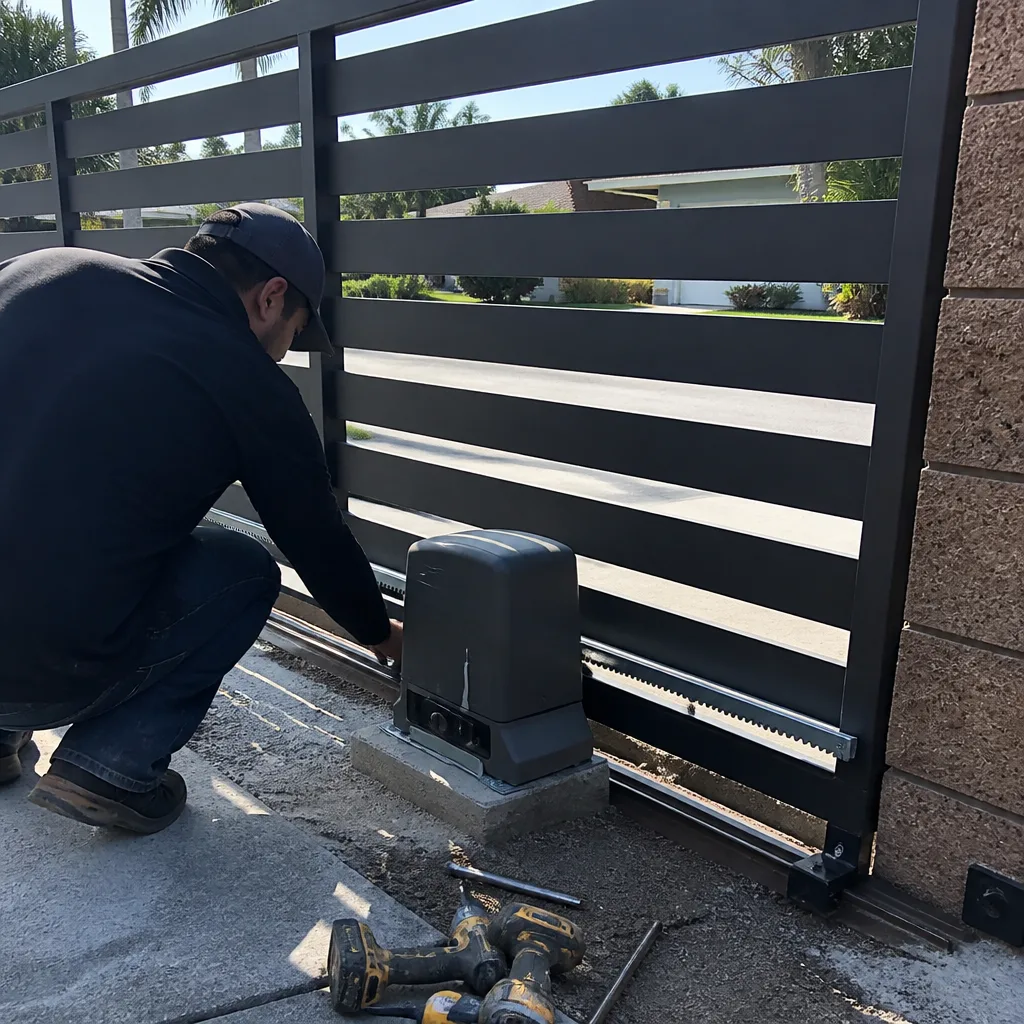 After
After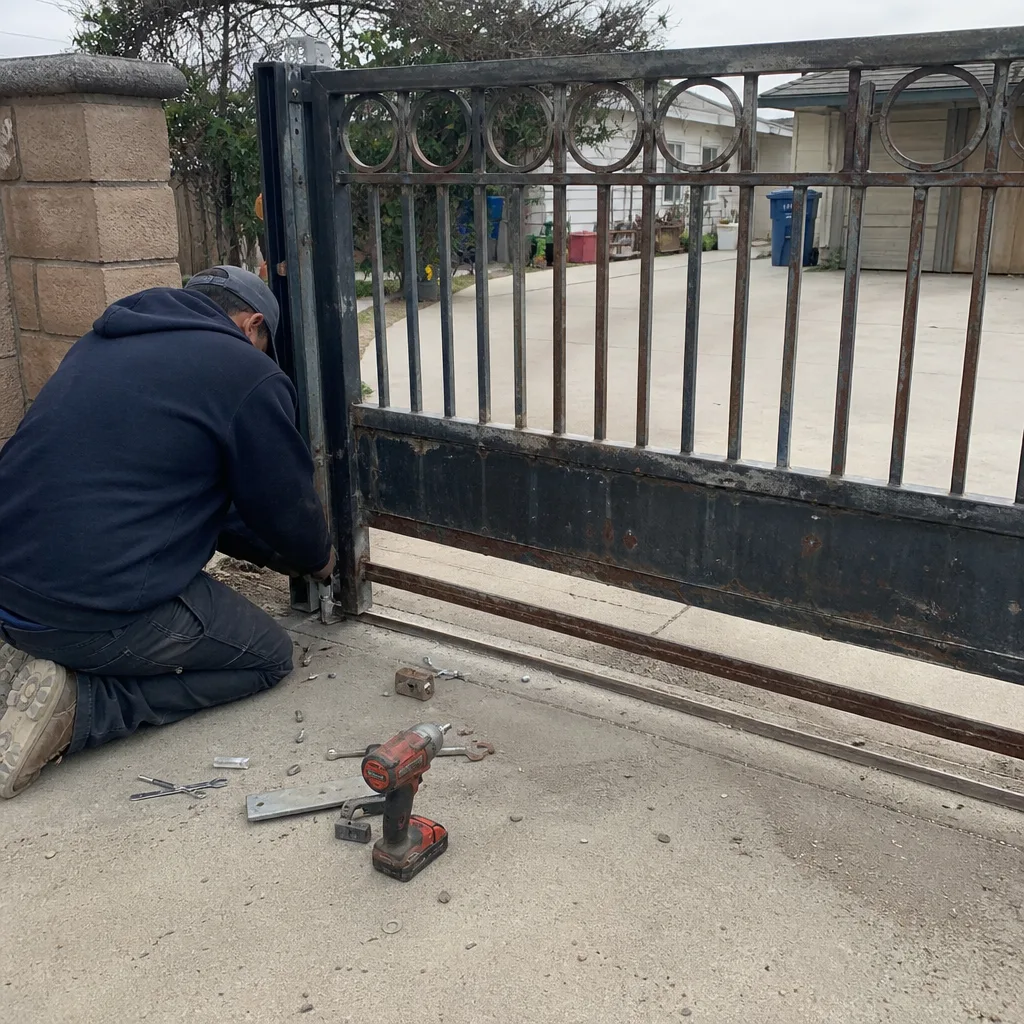 Before
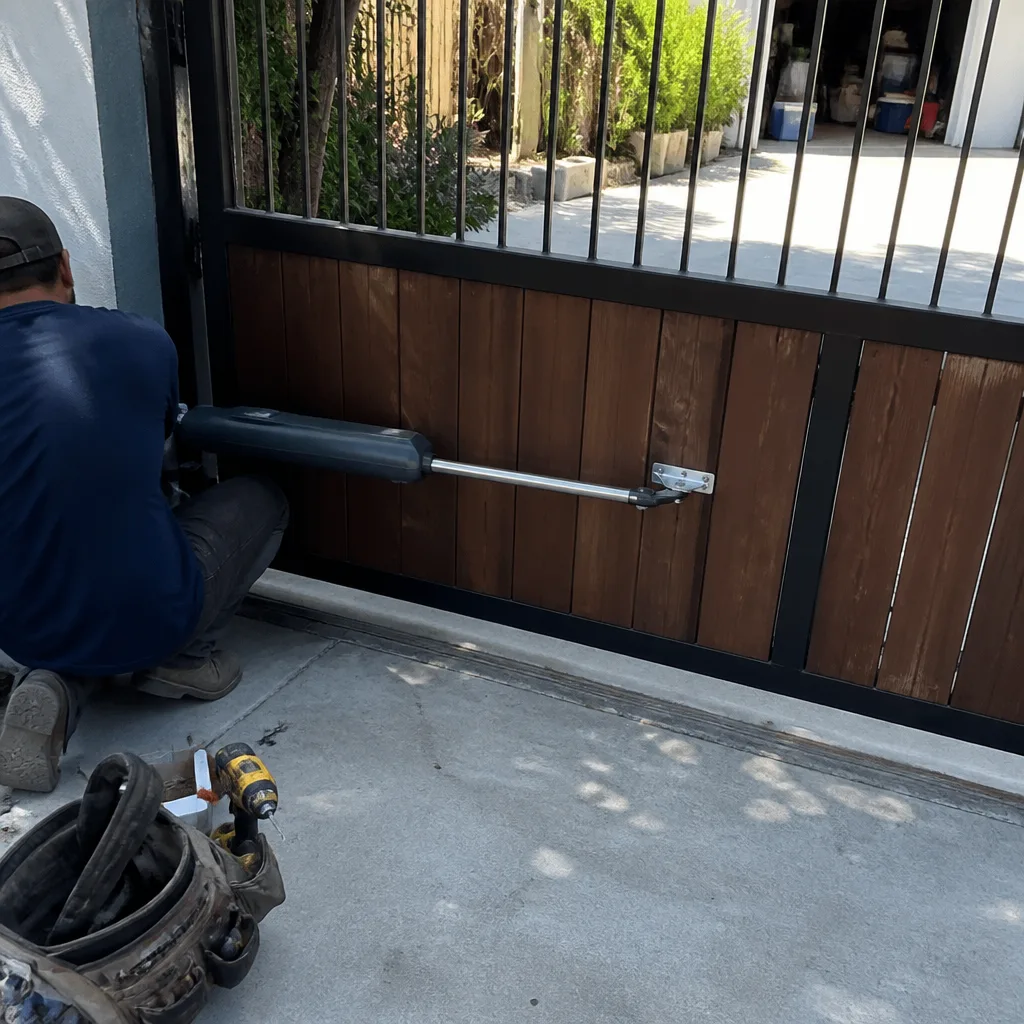 After
AfterGate Repair Maintenance Checklist for Santa Ana Homeowners
An 11.2-amp reading on a LiftMaster LA400 means one thing if the gate is rolling downhill and something entirely different if it’s climbing against a misaligned track. The number alone is useless. Most maintenance checklists for Santa Ana gates are just that: a list of things to look at, with no numbers attached, no pass/fail thresholds, no way to know whether what you’re seeing is normal wear or a Gate Repair services bill quietly stacking itself. This guide is different. You’ll get the actual ranges our technicians use on Santa Ana properties: amperage draws, limit-switch positions, photo angles that let a tech diagnose from a phone screen. You’ll learn the 90-second check that catches roughly four out of ten motor failures before the gate stops moving. And you’ll walk away with a paper-trail method that makes your notes useful to any technician who ever touches the gate, including us.
Quick Answer
A useful Santa Ana gate maintenance checklist gives you pass/fail numbers for five systems: the operator motor (amperage draw during travel), the battery and charging circuit, the safety edges and photo-eyes, the mechanical pivot points and hinges, and the limit-switch travel stops. Run the checks in this guide twice a year, in April and October, and you’ll catch small problems while they’re still under $150 instead of discovering them as a seized motor or a snapped weld. Log what you find with dated photos and a one-line note per item, and you’ll have a maintenance record any gate technician can use.
Table of Contents
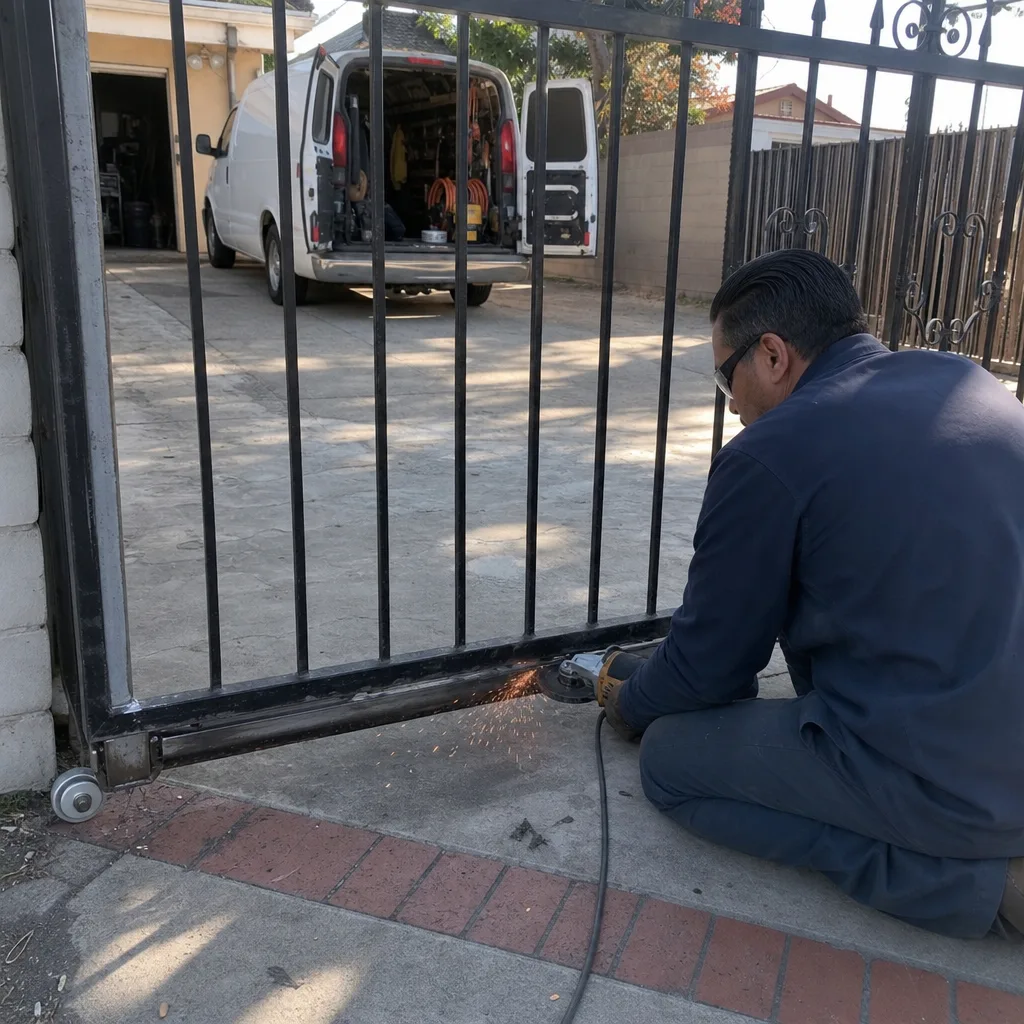
- Why Santa Ana Weather Demands a Twice-Yearly Gate Audit
- The Amp Draw Check: The Number That Predicts Motor Failure
- The 90-Second Limit-Switch Test That Catches 40% of Motor Problems
- Battery Voltage and Charging Circuit: The Most Misdiagnosed Part on a Santa Ana Gate
- Safety Systems: Photo-Eyes and Edges, Checked in Under Five Minutes
- Mechanical Wear: Hinges, Wheels, and the Weld Cracks That Matter
- How to Photograph a Gate So a Technician Can Actually Use the Images
- The Maintenance Log: From Dated Photo Folder to a Usable Paper Trail
- Common Mistakes to Avoid
- When to Call a Professional
- Frequently Asked Questions
- The Bottom Line
BeforeAfterWhy Santa Ana Weather Demands a Twice-Yearly Gate Audit
Santa Ana sits in a climate that punishes gate components in two very specific ways, and the timing matters. From June through September, the inland heat and long UV exposure days cook neoprene weather seals and photoelectric sensor housings. We’ve replaced photo-eye lenses on Santa Ana gates that the sun had frosted over like a headlight lens from a 1998 Civic. The plastic goes milky, the beam weakens, and the gate starts reversing for no reason the owner can see. October is when the seal damage is most visible and when you want to have already checked it.
Then there’s the rust cycle. Santa Ana’s morning marine layer from May through July leaves a film of moisture on exposed steel fasteners, and the afternoons burn it off. That daily wet-dry cycle is exactly what drives surface rust on gate hinge bolts, track brackets, and the small screws holding limit-switch covers on. Left alone, that rust migrates into the threads. By the time a bolt looks corroded, it’s often fused in place. Most Santa Ana gate repairs we do that involve “a simple hinge replacement” turn into a drilling job because the fastener rusted solid. For more on avoiding this, see our guide to Gate Repair Warning Signs: A Santa Ana Homeowner’s Reference Guide.
So the calendar is straightforward. Run the full checklist in early April, before the marine layer settles in for the summer, and again in late October, after the heat season but before any winter rain. Two audits a year, about 40 minutes each, and you’ve matched the maintenance rhythm to the actual failure patterns we see in Santa Ana.
The Amp Draw Check: The Number That Predicts Motor Failure
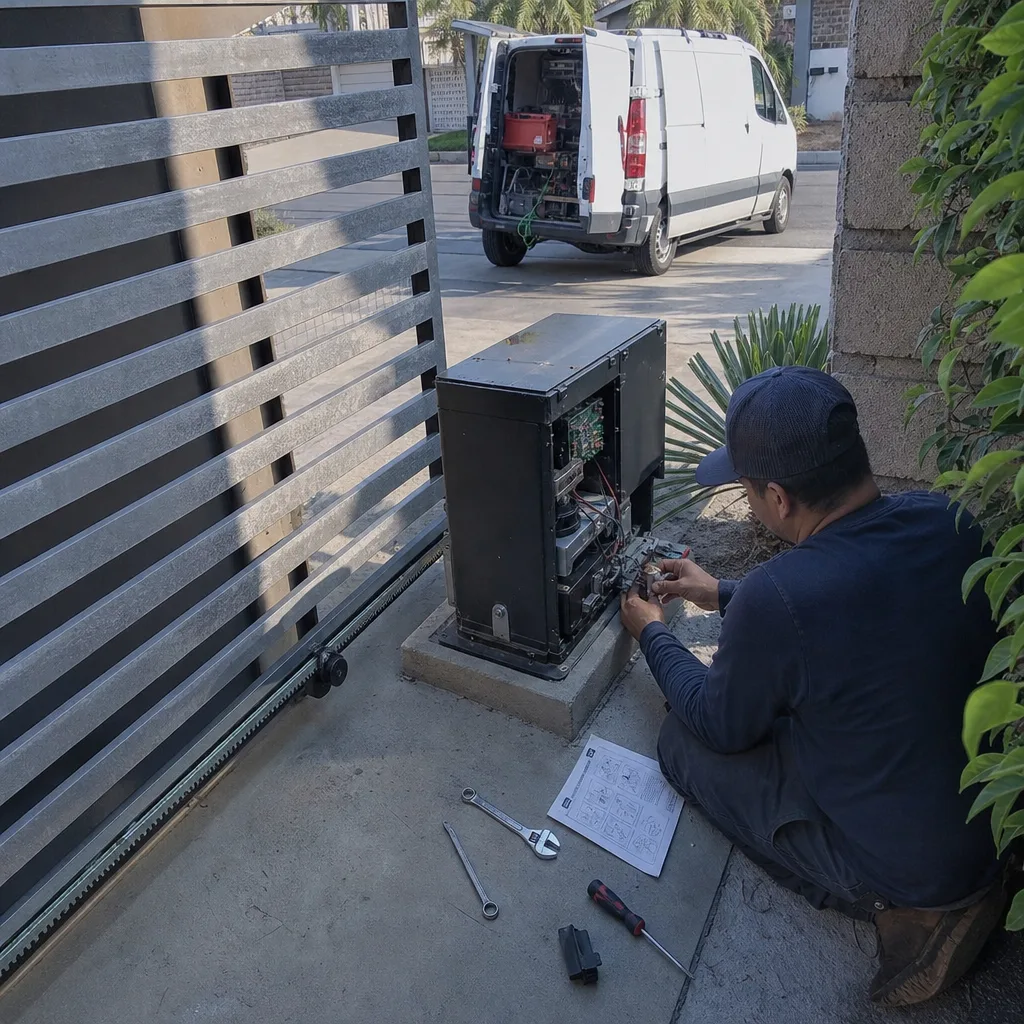
Every gate operator motor has a baseline amperage it draws under normal travel. When the motor works harder because a wheel is binding, the chain has stretched, or the gate itself has settled out of alignment, the amperage goes up. You can’t fix what you don’t measure, and here are the numbers our technicians use as pass/fail thresholds on the Santa Ana operators we service most.
What Your Gate Operator’s Amp Draw Should Read
These ranges assume a properly installed gate with no obstruction, on level or moderately sloped ground. If your gate sits on a noticeable incline, the numbers shift upward by roughly 0.5 to 1.0 amp. A clamp multimeter around either the motor’s hot lead or the operator’s power feed gets you the reading.
- LiftMaster LA400 / LA412: 6.5 to 8.5 amps during travel. Above 10.5 amps under normal load means the motor is working against something, usually a binding hinge or a tight chain.
- LiftMaster SL3000 (commercial slide): 4.0 to 6.0 amps at steady travel speed. Anything over 8.0 amps means the track alignment or the rollers need attention.
- Viking F-1 / X-9: 5.0 to 7.0 amps for a standard swing arm. Viking operators are current-sensitive; a reading above 8.5 amps on a flat driveway means a failing capacitor or a dragging gate wheel.
- DoorKing 9150 / 9100: 5.5 to 7.5 amps. DoorKing boards trip their thermal breaker at 10 amps, so a 9-amp reading means you’re a hot afternoon away from the gate stopping mid-cycle.
- Elite swing arms (various models): 3.5 to 6.0 amps. Elite motors are efficient but their control boards are sensitive to voltage spikes; high amp draw often points to a mechanical bind or a weak start capacitor.
- Mighty Mule MM571W / MM272W: 4.0 to 5.5 amps for the 12V models. These units are battery-driven, so a sustained draw above 6.0 amps drains the battery fast and usually indicates a hinge problem.
If you get a reading that’s 20 percent or more above the top of the normal range, don’t ignore it. The motor isn’t failing yet. It’s compensating. Every cycle it compensates is a cycle closer to burning out a board or cooking a capacitor. In our experience around Santa Ana, a homeowner who catches a 20 percent amp spike and calls us spends $100 to $200 on a hinge or track adjustment. For more guides & resources on catching problems early, explore our blog. The homeowner who waits until the gate stops moving spends $700 to $1,200 on a board, a motor, or both. Same gate. Different checklists.
If you’re not comfortable putting a meter on a live circuit, that’s reasonable. A qualified gate technician can take these readings in about ten minutes during a routine service. The point is that someone takes them.
The 90-Second Limit-Switch Test That Catches 40% of Motor Problems
Every swing and slide gate operator has travel limits: the points at which the motor stops pushing. They’re set either by mechanical limit nuts on older operators or by software limits on newer boards. When a limit is set past the gate’s natural travel, the motor keeps pushing against a frame it cannot move. That’s called over-travel. Over-travel is the single most common cause of premature motor and board failure we see on Santa Ana residential gates, and it takes 90 seconds to check.
Here’s the test, step by step. You need no tools other than your ears and your eyes.
- Open the gate fully using the remote or the keypad. Watch the gate as it reaches the open position. It should come to a stop cleanly, with no bounce-back, no groaning, and no “stutter” at the end of travel. If the gate visibly flexes, shudders, or the motor hums for even half a second after the gate stops moving, the limit is set past the stop point.
- Repeat the close cycle. Watch for the same at the closed position. On slide gates, listen for the gate slamming into the end post. On swing gates, watch the gate leaves. They should not flex inward at the center join. Any flex means over-travel.
- Switch the operator to manual (the release lever or key) and move the gate by hand to its true open and close positions. Does the gate move further by hand than the motor allows? If the gate travels another half-inch or more beyond where the motor stops, the limits are set short. If the motor pushes the gate past the point where it naturally wants to stop, the limits are set long. Either condition is a problem.
- Check the gate’s balance at both positions. With the operator disengaged, the gate should hold its position when you release it. If it drifts open or closed on its own, the gate is out of level or the hinges are sagging, and the operator is fighting gravity on every cycle.
Why does this matter more in Santa Ana than in, say, a coastal city with mild winters? Because heat expansion. A steel gate that’s perfectly aligned at 7 a.m. on a 65-degree morning is measurably longer and slightly warped at 3 p.m. on a 95-degree afternoon. If the limits are set tight against the stops in the morning, the gate binds in the afternoon. The motor pushes harder, the amp draw climbs, and the board runs hotter. We see this pattern on west-facing Santa Ana properties every summer. Reset the limits with an inch of travel slack at both ends, and the over-travel failures drop dramatically.
This check costs nothing and takes less than two minutes. If your gate is already over-traveling, call us sooner rather than later. We can reset the limits and photograph the new positions as part of the service record.
Battery Voltage and Charging Circuit: The Most Misdiagnosed Part on a Santa Ana Gate
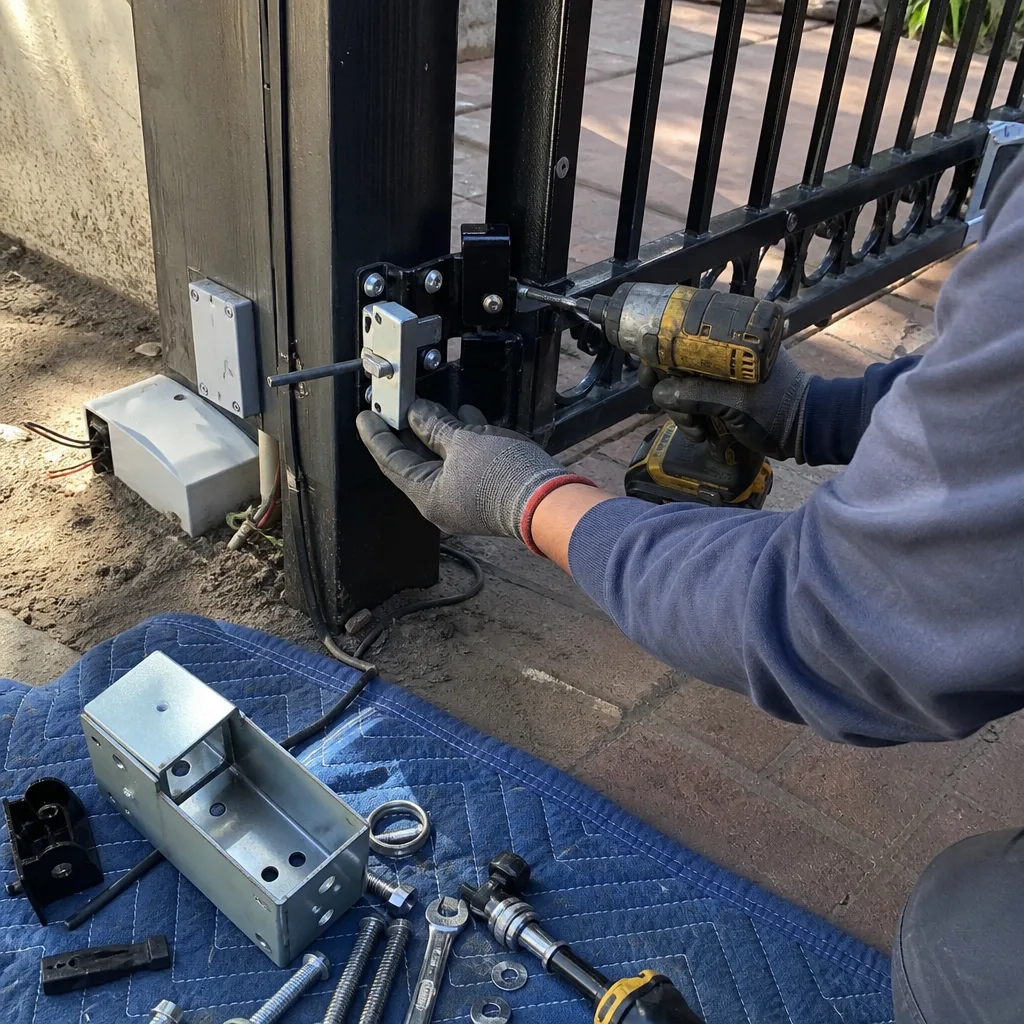
Solar and battery-driven operators are common on Santa Ana driveways, especially on properties where running conduit to the gate would mean trenching under concrete. The outdoor temperature swings in Santa Ana are particular: summer heat accelerates battery sulfation, and the occasional winter cold snap slows the charging reaction. Battery health is not something you guess at. You measure it.
The system has two parts: the battery itself and the charging circuit that keeps it topped up. Most homeowners replace the battery when the real problem is the charger, or they replace the charger when the battery gave up. Here’s how to tell the difference.
Battery Voltage Check
A healthy 12-volt sealed lead-acid (SLA) or AGM gate battery reads between 12.6 and 12.8 volts at rest, with the operator disconnected from charging for at least an hour. Anything below 12.4 volts at rest means the battery is discharging faster than it’s being charged, or it’s at the end of its life. A reading of 12.0 volts or less means the battery is effectively dead and the operator has been running on the charger alone, which is why the gate moves slowly or fails mid-cycle.
Santa Ana’s summer heat is hard on batteries. A battery that spends its afternoons in a metal housing at 130 degrees ages roughly twice as fast as one that stays shaded. If your operator box faces west and sits in direct afternoon sun, check the battery voltage quarterly, not just twice a year.
Charging Circuit Check
With the operator plugged in or the solar panel connected and in direct sun, measure the voltage at the battery terminals while the charger is active. A functioning charging circuit should read between 13.5 and 14.5 volts. Below 13.5 volts, the charger isn’t keeping up. Above 14.7 volts, it’s overcharging and cooking the battery.
Mighty Mule and Ghost Controls solar panels are rated for their specific amperage output, but panel voltage drops over time as the plastic face clouds. A panel that produced 18 volts open-circuit when new might produce 12 volts after five Santa Ana summers. At that point, the charger can’t overcome the battery’s natural self-discharge, and the gate starts failing intermittently. Inspect the panel face for clouding, and test open-circuit voltage in direct sun. A healthy 12V panel reads 17 to 22 volts open-circuit.
If the battery voltage is fine but the gate still struggles, test the charging circuit. If the charging circuit is fine but the battery won’t hold above 12.4 volts, replace the battery. Knowing which one failed means you buy one part, not two.
Safety Systems: Photo-Eyes and Edges, Checked in Under Five Minutes
Every automated gate in California is required to have a functioning entrapment protection system. On residential slide gates, that’s usually a pair of photo-eyes: an infrared beam transmitter and receiver mounted on the gate posts. On swing gates, it’s often a contact edge or an obstruction sensor built into the operator. These systems are the difference between a gate that stops when your kid’s bike is in the path and a gate that doesn’t. You check them the same way the UL standard does: by interrupting the beam or the edge contact while the gate is moving.
The Photo-Eye Shade Test
Start the gate closing, then block the beam with your hand or a piece of cardboard at mid-height. The gate should stop and reverse immediately. If the gate continues closing, you have a dead photo-eye, a misaligned beam, or a wiring fault. On a Santa Ana gate in the afternoon, a photo-eye that’s been sun-frosted may work in the morning’s softer light and fail in the harsh afternoon glare, because the frosted lens scatters the infrared signal when the ambient light is strongest. If your gate reverses mysteriously, or refuses to close at all, in the late afternoon but works fine in the morning, the photo-eye lens is the first thing to inspect. Hold a flashlight at the lens; if it looks milky or chalky instead of clear, the lens is UV-damaged.
The Edge Contact Test
On swing gates with a contact edge, push the edge strip while the gate is closing. The gate should stop and reverse. If the edge is cracked, brittle, or has visible splits along its length, it’s a UL violation and it needs replacement regardless of whether it still triggers. Edges exposed to west-facing Santa Ana sun often crack along the top seam within three to five years. We’ve replaced edges on gates in the Washington Square neighborhood that looked like cracked varnish. They still worked electrically, but a cracked edge is an entrapment risk. Replace it.
Write down what you found. If the photo-eye lens is frosted and the gate reverses, a technician replacing just the lens will charge less than one who has to trace an intermittent fault. Your note saves the diagnostic time, and our Gate Repair in Santa Ana page explains how we handle these common safety failures.
Mechanical Wear: Hinges, Wheels, and the Weld Cracks That Matter
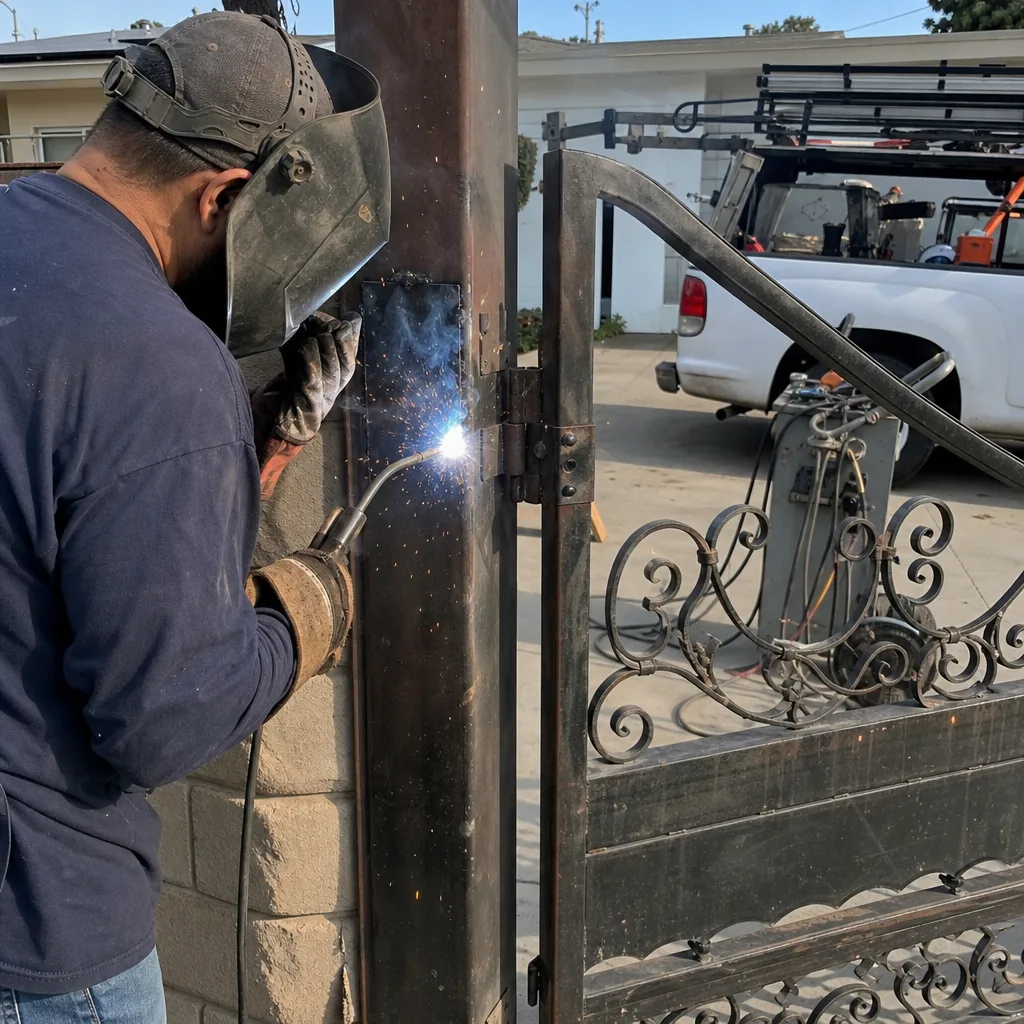
The electrics get all the attention, but most gate failures in Santa Ana start as mechanical problems that migrate into electrical ones. The operator only fails because the gate got harder to move. So check the mechanical layer first, and check it by hand.
The Manual Movement Test
Disengage the operator using the release lever or key. Now push the gate through its full travel by hand, slowly, at a walking pace. A properly aligned and balanced gate should move with consistent effort from start to finish. Note any of these:
- Resistance or grab at a specific point in the travel means a bent hinge pin, a worn wheel with a flat spot, or a track section that’s shifted out of alignment.
- Squealing or grinding from a wheel or hinge means the bearing surface has lost lubrication and is scoring itself. The fix is now, not later.
- Sag at the far end on a swing gate means a hinge is failing or the post has shifted. When a swing gate sags even an inch at the latch end, the operator’s gear train takes a load it wasn’t designed for, and motor life drops sharply.
- Lateral wobble (the gate moves side to side as it travels) means a wheel or roller is worn beyond its load rating. On a slide gate, the gate should ride flat and straight. Any wobble is a worn wheel.
On swing gates, the hinge is the pivot point of the entire system. Check the hinge pins for upward or lateral play by lifting the gate slightly at the latch end. If you see movement at the hinge, the bushing or the pin is worn. Replacement hinges for a standard residential swing gate run $40 to $150 in parts depending on the gate’s weight and the hinge design. The labor to install them, if the fasteners aren’t rusted solid, is usually under two hours. Catch the wear now and you’re looking at a few hundred dollars. Let it go until the gate drops and you’re looking at a gate rebuild, and possibly a new post.
Weld Crack Inspection: Where to Look
Welded steel gates develop fatigue cracks at predictable points: where a horizontal rail meets a vertical picket, at the corners of the frame, and where the operator arm or chain bracket attaches to the gate frame. Use a flashlight and run your eyes along every weld joint. A fatigue crack starts as a hairline fracture in the paint: a thin, perpendicular line through the weld bead. If you flex the gate and the line widens, it’s a crack, not a paint scratch. Santa Ana’s rust-friendly marine layer makes cracks visible earlier than in drier climates, because the bare metal inside the crack starts to rust within days. A line of rust bleeding from a weld joint is a crack that’s already active.
Small weld cracks are repairable, often in place, for $150 to $400 depending on access and whether the gate needs to be removed. A crack that goes unaddressed will propagate, and eventually the gate leaf separates from the frame. That’s a full replacement: $1,500 to $3,500 for a typical Santa Ana driveway gate, installed. If you find a crack, don’t ignore it.
For homeowners considering a gate upgrade rather than a repair, our Gate Installation in Santa Ana page covers what a properly engineered gate should look like from the first day.
How to Photograph a Gate So a Technician Can Actually Use the Images
Most maintenance photo folders we see on Santa Ana properties contain twenty-three pictures of the same gate from ten feet away, plus one blurry close-up of something the homeowner can’t remember why they photographed. That record is useless. A useful gate photo log follows the same pattern every time, and it takes about five minutes.
The Three-Angle Standard
Every inspection point gets three photos, not one. Here’s why: a single photo shows a component at one angle, in one lighting condition. Three photos at known angles give a technician enough reference to determine alignment, wear, and clearance without standing in front of the gate.
- The straight-on shot: camera level with the component, square to it, filling the frame. This shows the component in its normal position and is the reference shot.
- The 45-degree shot: from one side, showing depth and clearance. For hinges, this shows whether the pin is seated or climbing. For wheels, it shows the track engagement.
- The macro or detail shot: as close as your phone will focus, showing the surface condition. For photo-eye lenses, this shows frosting or clarity. For weld joints, it shows the crack line. For hinges, it shows the wear surface.
Take the same three shots at the same points every audit. The value of a maintenance photo log isn’t any individual photo. It’s the comparison between photos taken six months apart. The crack that was a quarter-inch in April and a half-inch in October tells a technician something important. Two isolated photos of each tell them almost nothing.
What the Photos Should Show
- Gate clearance at the top: a photo taken from the side, showing the gap between the top of the gate and the track or the opposite leaf. This records whether the gate is settling.
- Hinge pins from below and from the side: showing the bushing wear surface and whether the pin is centered in the bracket.
- Wheel or roller faces: showing the contact surface where the wheel meets the track. Flat spots and uneven wear patterns are visible in a good side-lit photo.
- Weld joints at the frame corners and picket connections: close enough to see the paint surface at the weld line. Any crack will show as a line through the paint or rust streaking.
- Photo-eye lenses and edge strips: showing surface condition. A frosted lens or a cracked edge strip is visible in a macro photo even if it still functions.
- The operator’s control board area: showing the LED indicators and any visible burn marks, swollen capacitors, or insect intrusion. Santa Ana, with its warm winters, has a particular problem with ants getting into control boards and shorting terminals.
- Amp draw (travel): 8.9A on LiftMaster LA400. Upper limit is 8.5A. Elevated.
- Limit switch test: Open limit over-travels by approximately 1/2 inch; gate flexes at open stop.
- Battery voltage (at rest): 12.6V. Within range.
- Charging circuit (active): 13.8V. Within range.
- Photo-eyes: Lens frosting on both transmitter and receiver. Gate reversed properly when beam blocked. Monitor.
- Hinge inspection: Right upper hinge pin shows 1/8 inch lateral play. Wear noted.
- Weld joints: No new cracks. Hairline at left frame corner unchanged from April. Monitor.
- Photos taken: 18 photos covering all inspection points. Stored in folder “Gate Audit 2026-10-12.”
- Lubricating without cleaning first. Spraying fresh grease onto a dirty hinge or chain drives grit into the bearing surface. Wipe the part clean, then lubricate. On Santa Ana gates, where wind-blown dust settles on everything, this mistake turns a five-minute maintenance task into a hinge replacement.
- Checking the gate only when it’s already broken. A twice-yearly audit catches a worn hinge or a frosted photo-eye eye before the failure. Waiting until the gate stops moving means the repair bill includes the damage the failure caused.
- Replacing the battery before testing the charger. A dead battery is a symptom, not always the cause. If the charging circuit is undercharging, a new battery dies within a year. Test both, then replace the part that failed.
- Ignoring a slight over-travel because “it still works.” Over-travel is a countdown timer on your operator motor. The gate might work for six more months, but the motor is taking damage every cycle. Reset the limits before you’re buying a new board.
- Using WD-40 on gate hinges. WD-40 is a water displacer, not a lubricant. It washes out the existing grease and leaves the hinge dry. Use a proper lithium or synthetic grease on hinge pins and a dry chain lube on chain drives.
- Adjusting the limit switches without recording the original position. If you’re going to adjust anything, photograph the original setting first. A limit screw that’s moved without a record makes a technician’s job harder, not easier. When we service a gate in Santa Ana that a homeowner has “adjusted,” the first thing we do is reverse-engineer the previous setting.
- Trusting a photo-eye that works at 9 a.m. to work at 3 p.m. Frosted lenses fail in bright afternoon sun. Test your photo-eyes at the time of day the gate faces the most direct sunlight. That’s the condition the system has to survive.
This documentation habit isn’t just for your own file. Under Clause 4 of The Haven Standard, every visit from Vance Gate Repair includes a documented photo record as part of the job: what was found, what was adjusted, what was replaced. Your own maintenance photos, taken with the same rigor, make that record more useful. A technician who can see the gate’s history in pictures spends less time diagnosing and more time fixing.
The Maintenance Log: From Dated Photo Folder to a Usable Paper Trail
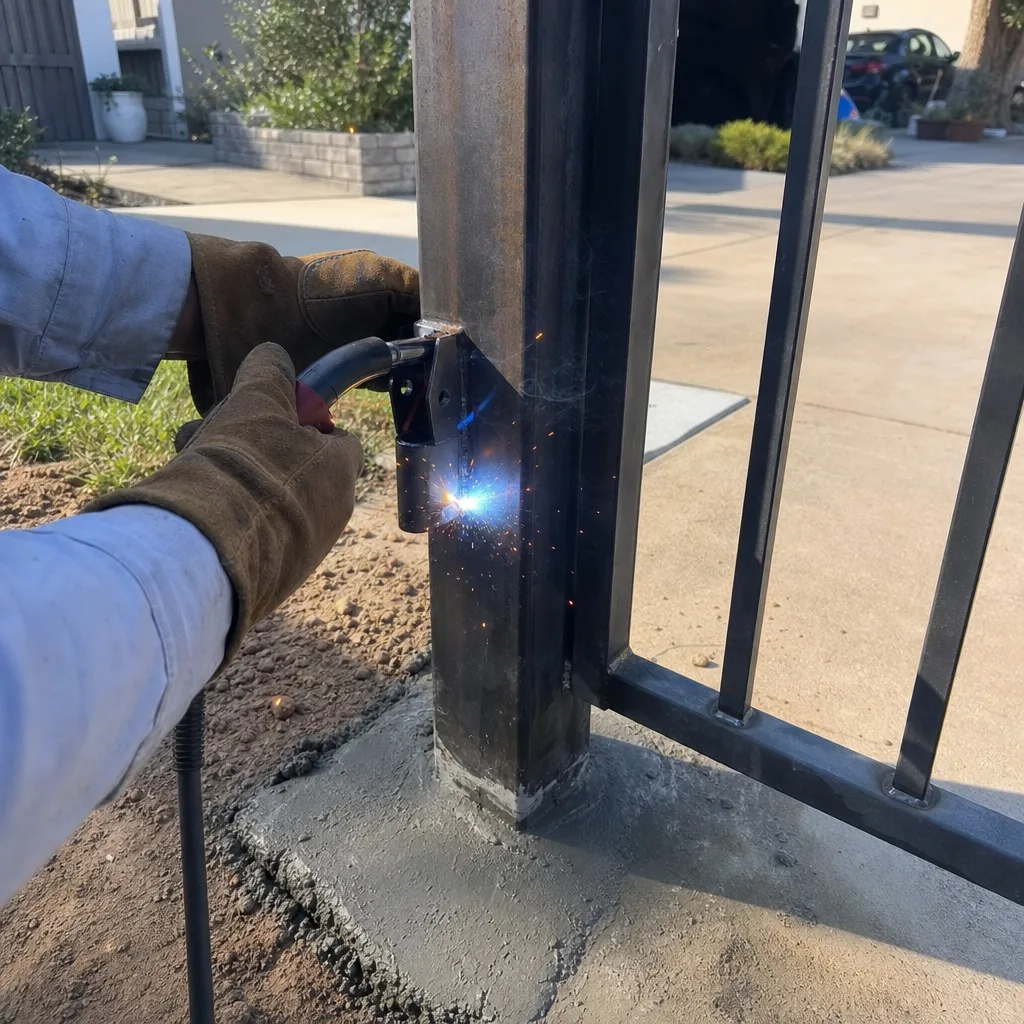
A folder with a hundred photos and no notes is a photo album, not a maintenance record. The difference is the log line that goes with each image: what you checked, what the reading was, and whether it was normal or out of spec. The format doesn’t have to be complicated. It has to be dated and consistent.
Here’s the log format we recommend, and the same format we use internally at Vance Gate Repair when we leave a service record:
Date: October 12, 2026
Audit type: Fall maintenance checklist
Conditions: 78°F, gate tested at 2:30 p.m., west-facing exposure
Findings:
That’s the entire record. It took twenty minutes to produce, and it answers every question a technician would ask: what’s the operator brand, what were the readings, what were the photos of, and what changed since last time. Compare two of these side by side and you can see the failure curve developing months before the gate quits.
The paper trail matters for another reason: accountability. If you take your gate’s maintenance record to any gate company in Santa Ana, the technician knows exactly what’s been checked and when. That means you’re not paying for re-diagnosis. The work starts from your last reading, not from zero. On a gate that’s been through a few repair cycles, that’s the difference between a $150 service call and a $400 exploratory visit.
If you want to know more about how we handle documented service, our Gate Motor & Opener in Santa Ana page walks through what’s included in a motor service and what the record looks like when we leave.
Common Mistakes to Avoid
When to Call a Professional
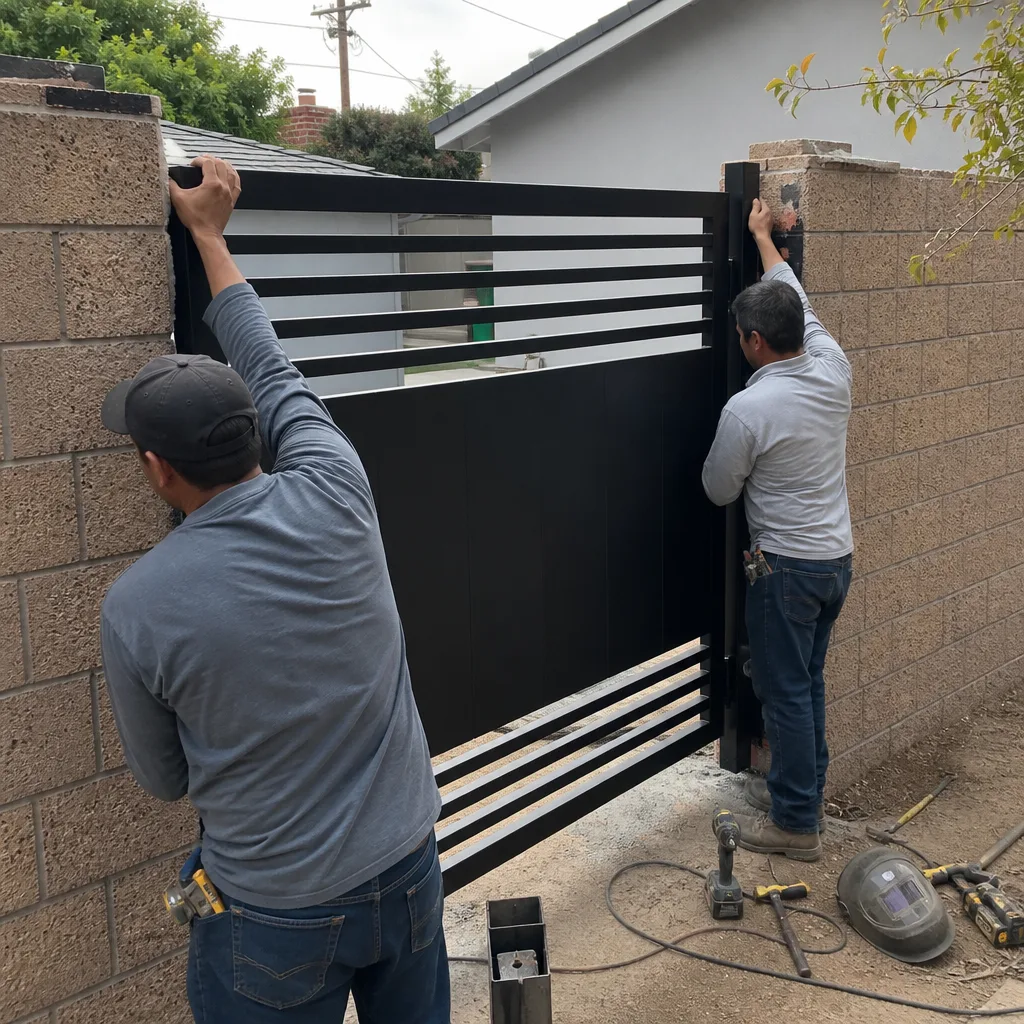
Some findings on this checklist are notes for next time. Some are calls you make today. Call a gate professional when the amp draw is 20 percent or more above the normal range on your operator, when the limit test shows over-travel you can’t correct, when a weld crack is actively widening, when the gate drifts on its own with the operator disengaged, or when any safety device fails its test. These are not maintenance items. They’re repair conditions that get worse every cycle.
If you find any of these on your gate in Santa Ana, Vance Gate Repair Santa Ana offers free estimates in Santa Ana. Call (657) 286-4793 and we’ll send a background-checked technician who will put the price in writing before any work starts. Every visit includes the photo record under The Haven Standard, and every repair is covered by our 365-Day Done Right Promise.
Frequently Asked Questions
Twice a year, in early April and late October. Those two windows line up with Santa Ana’s marine layer season (which drives rust on fasteners) and the end of the summer UV season (which damages seals and photo-eye lenses). A gate in direct west-facing sun may need an additional battery voltage check in mid-summer. If any maintenance item needs attention, call (657) 286-4793 for a free estimate.
The limit-switch over-travel test. Over-travel is the leading cause of premature motor and board failure we see on residential gates in Santa Ana, and it takes 90 seconds to check with no tools. If your gate flexes, groans, or the motor hums after the gate reaches its stop, the limits are set past the gate’s natural travel and the motor is being damaged on every cycle.
Most minor mechanical repairs (hinge replacement, track adjustment, limit reset, photo-eye replacement) run between $150 and $400. Motor or control board replacements for common operators like LiftMaster, Viking, or DoorKing typically run $500 to $1,200 depending on the brand and model. A full gate replacement starts around $1,500 for a standard driveway gate and goes up from there based on size, material, and automation. Every price from Vance Gate Repair is put in writing before any work starts, and estimates are free.
Every check in this guide is designed for a homeowner with no special tools beyond a multimeter and a phone camera. The mechanical movement test, the photo-eye block test, the visual weld inspection, and the limit observation all take minutes. The only check that involves live electrical work is the amp draw reading, which uses a clamp meter around the motor lead and never requires touching a bare conductor. If you’re not comfortable doing any of it, that’s a valid reason to call a professional. A service technician can complete the full checklist in under an hour.
That’s the classic signature of UV-frosted photo-eye lenses. The infrared beam scatters when the ambient light is strongest, which in Santa Ana is mid-afternoon. The photo-eye works at dawn, fails at 3 p.m., and works again after sunset. The fix is replacing the frosted lens, usually a $50 to $150 part. Call (657) 286-4793 and we’ll confirm the diagnosis and give you a written price before we touch the gate.
Date, operator brand, the five key readings (amp draw, battery voltage at rest, charging voltage, limit test result, and photo-eye test result), and a one-line note per item. Pair every finding with the three-angle photo set described in this guide, and store the log and photos in a single dated folder. A log in this format lets any technician start from your last readings instead of re-diagnosing from zero. It’s the same documentation standard we follow on every Vance Gate Repair visit under The Haven Standard.
The Bottom Line
A maintenance checklist without pass/fail numbers is a to-do list for a technician to redo. The numbers in this guide, the amp-draw ranges for the operators common on Santa Ana driveways, the voltage thresholds, the over-travel test, are the difference between a gate owner who notices a problem and one who gets surprised by a dead motor on a Friday morning. Run the checklist twice a year, log what you find, photograph it properly, and hand the record to whichever technician you call. You’ll pay less, wait less, and replace parts before the failure takes out the parts around them. That’s the entire strategy. If your gate’s readings are out of range, call (657) 286-4793 for a free estimate from Vance Gate Repair Santa Ana. We’ll put the price in writing, fix the problem, and leave you with the same documentation standard this guide is built on.
Written by Adrian Vance, Owner at Vance Gate Repair Santa Ana, serving Santa Ana since 2014.